Vocabulary Editing
for Geoscience Australia
A structured authoring workflow for SKOS vocabularies
March 2026
GA's Current Vocabulary Setup
What you have today
- SKOS vocabularies managed in a GitHub repository
- Prez UI + Prez API serving vocabulary content
- Fuseki triplestore as the backend
- GitHub Actions workflow publishing changes to Fuseki
- TTL files as the source of truth
The gap
- Editing vocabularies requires direct TTL file editing in GitHub
- Vocabulary editors need to understand RDF/TTL syntax
- No structured review or approval workflow for vocab changes
- Risk of syntax errors or invalid SKOS structures
Adding Vocab Editing Capability
Add a browser-based vocabulary editor to your existing vocab repo — no changes to your Prez UI / API / Fuseki stack required.
How it works
- Deploys alongside your existing vocab repository
- Editors work through a web interface — no TTL knowledge needed
- Changes are saved back to GitHub as TTL commits
- Your existing GitHub Actions workflow publishes to Fuseki as normal
What doesn't change
- Your Prez UI continues to serve vocabularies
- Your Fuseki backend stays the same
- Your existing CI/CD pipeline stays the same
- TTL files remain the source of truth in GitHub
Architecture Overview
Public vocabulary browser
SPARQL / REST
RDF storage
Publish TTL → Fuseki
Browser-based editing
Branches, commits, PRs
TTL files (source of truth)
GitHub Actions → Fuseki pipeline
Editing Workflow Overview
The following slides walk through each step with screenshots from the GA vocabulary editor.
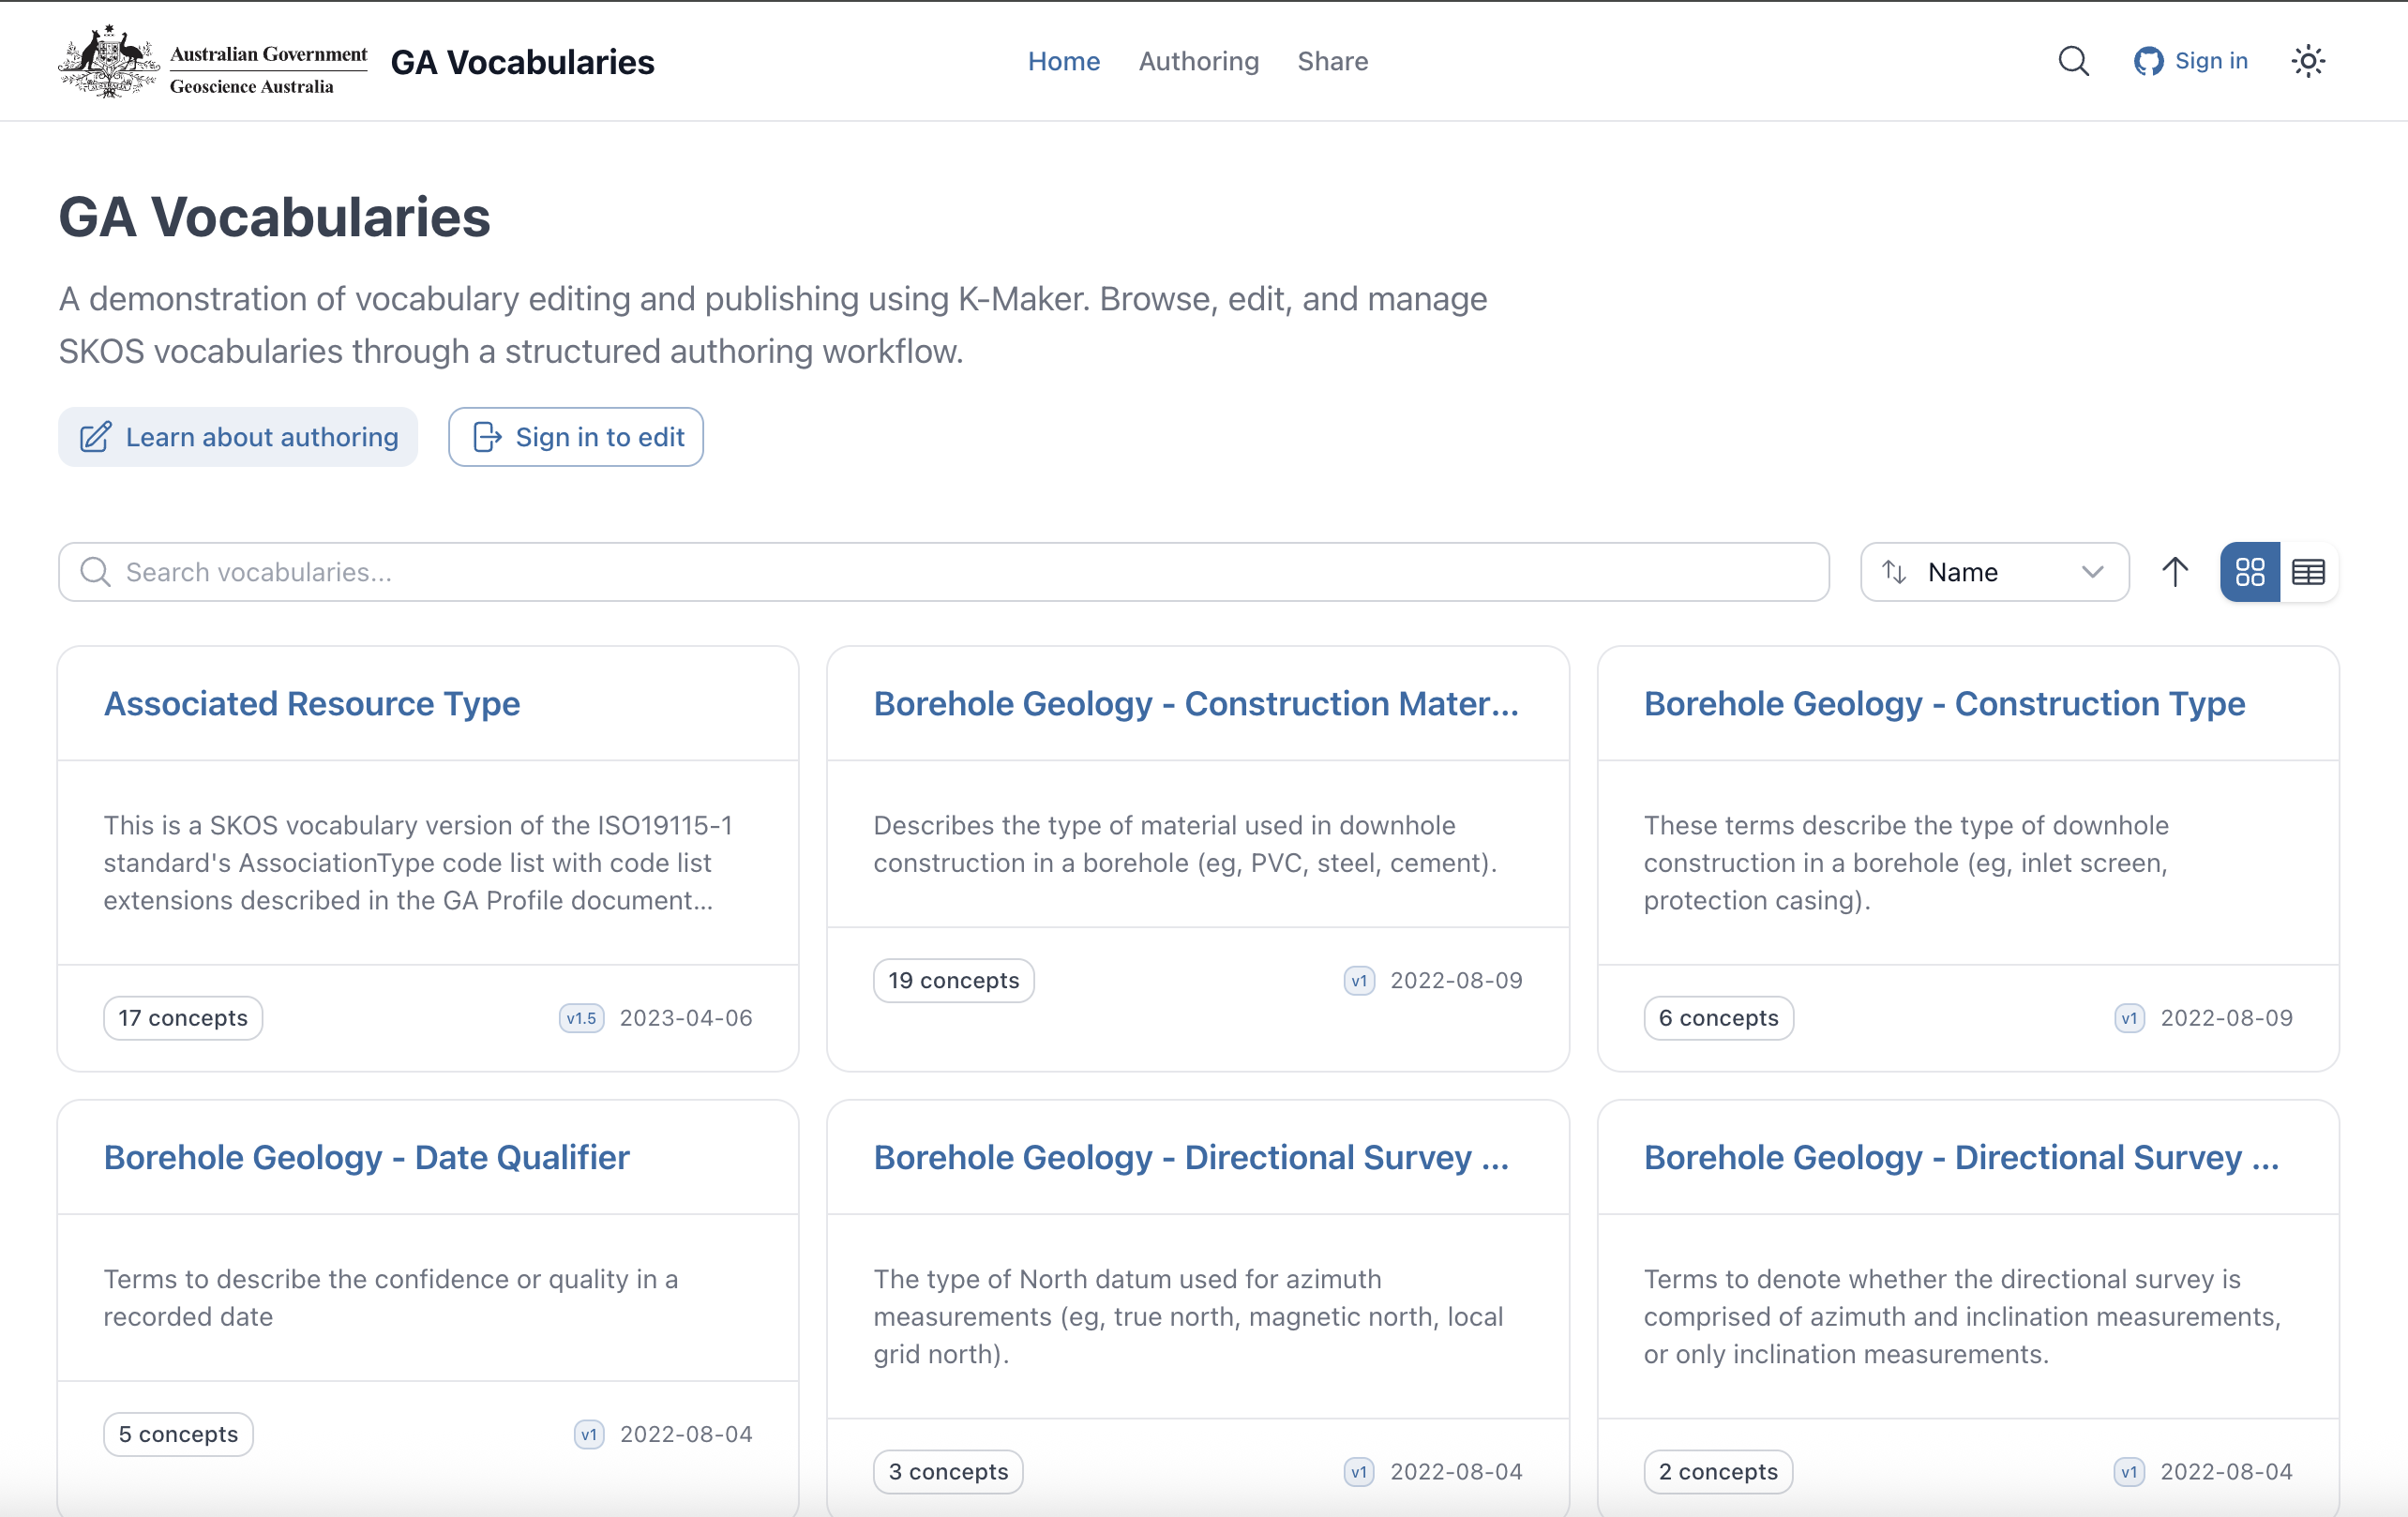
Browse Vocabularies
The vocabulary browser shows all GA vocabularies with search, filtering, and metadata at a glance.
- Search across all vocabularies
- See concept counts and last modified dates
- Card or list view
- Sign in to start editing
Choose a Workspace
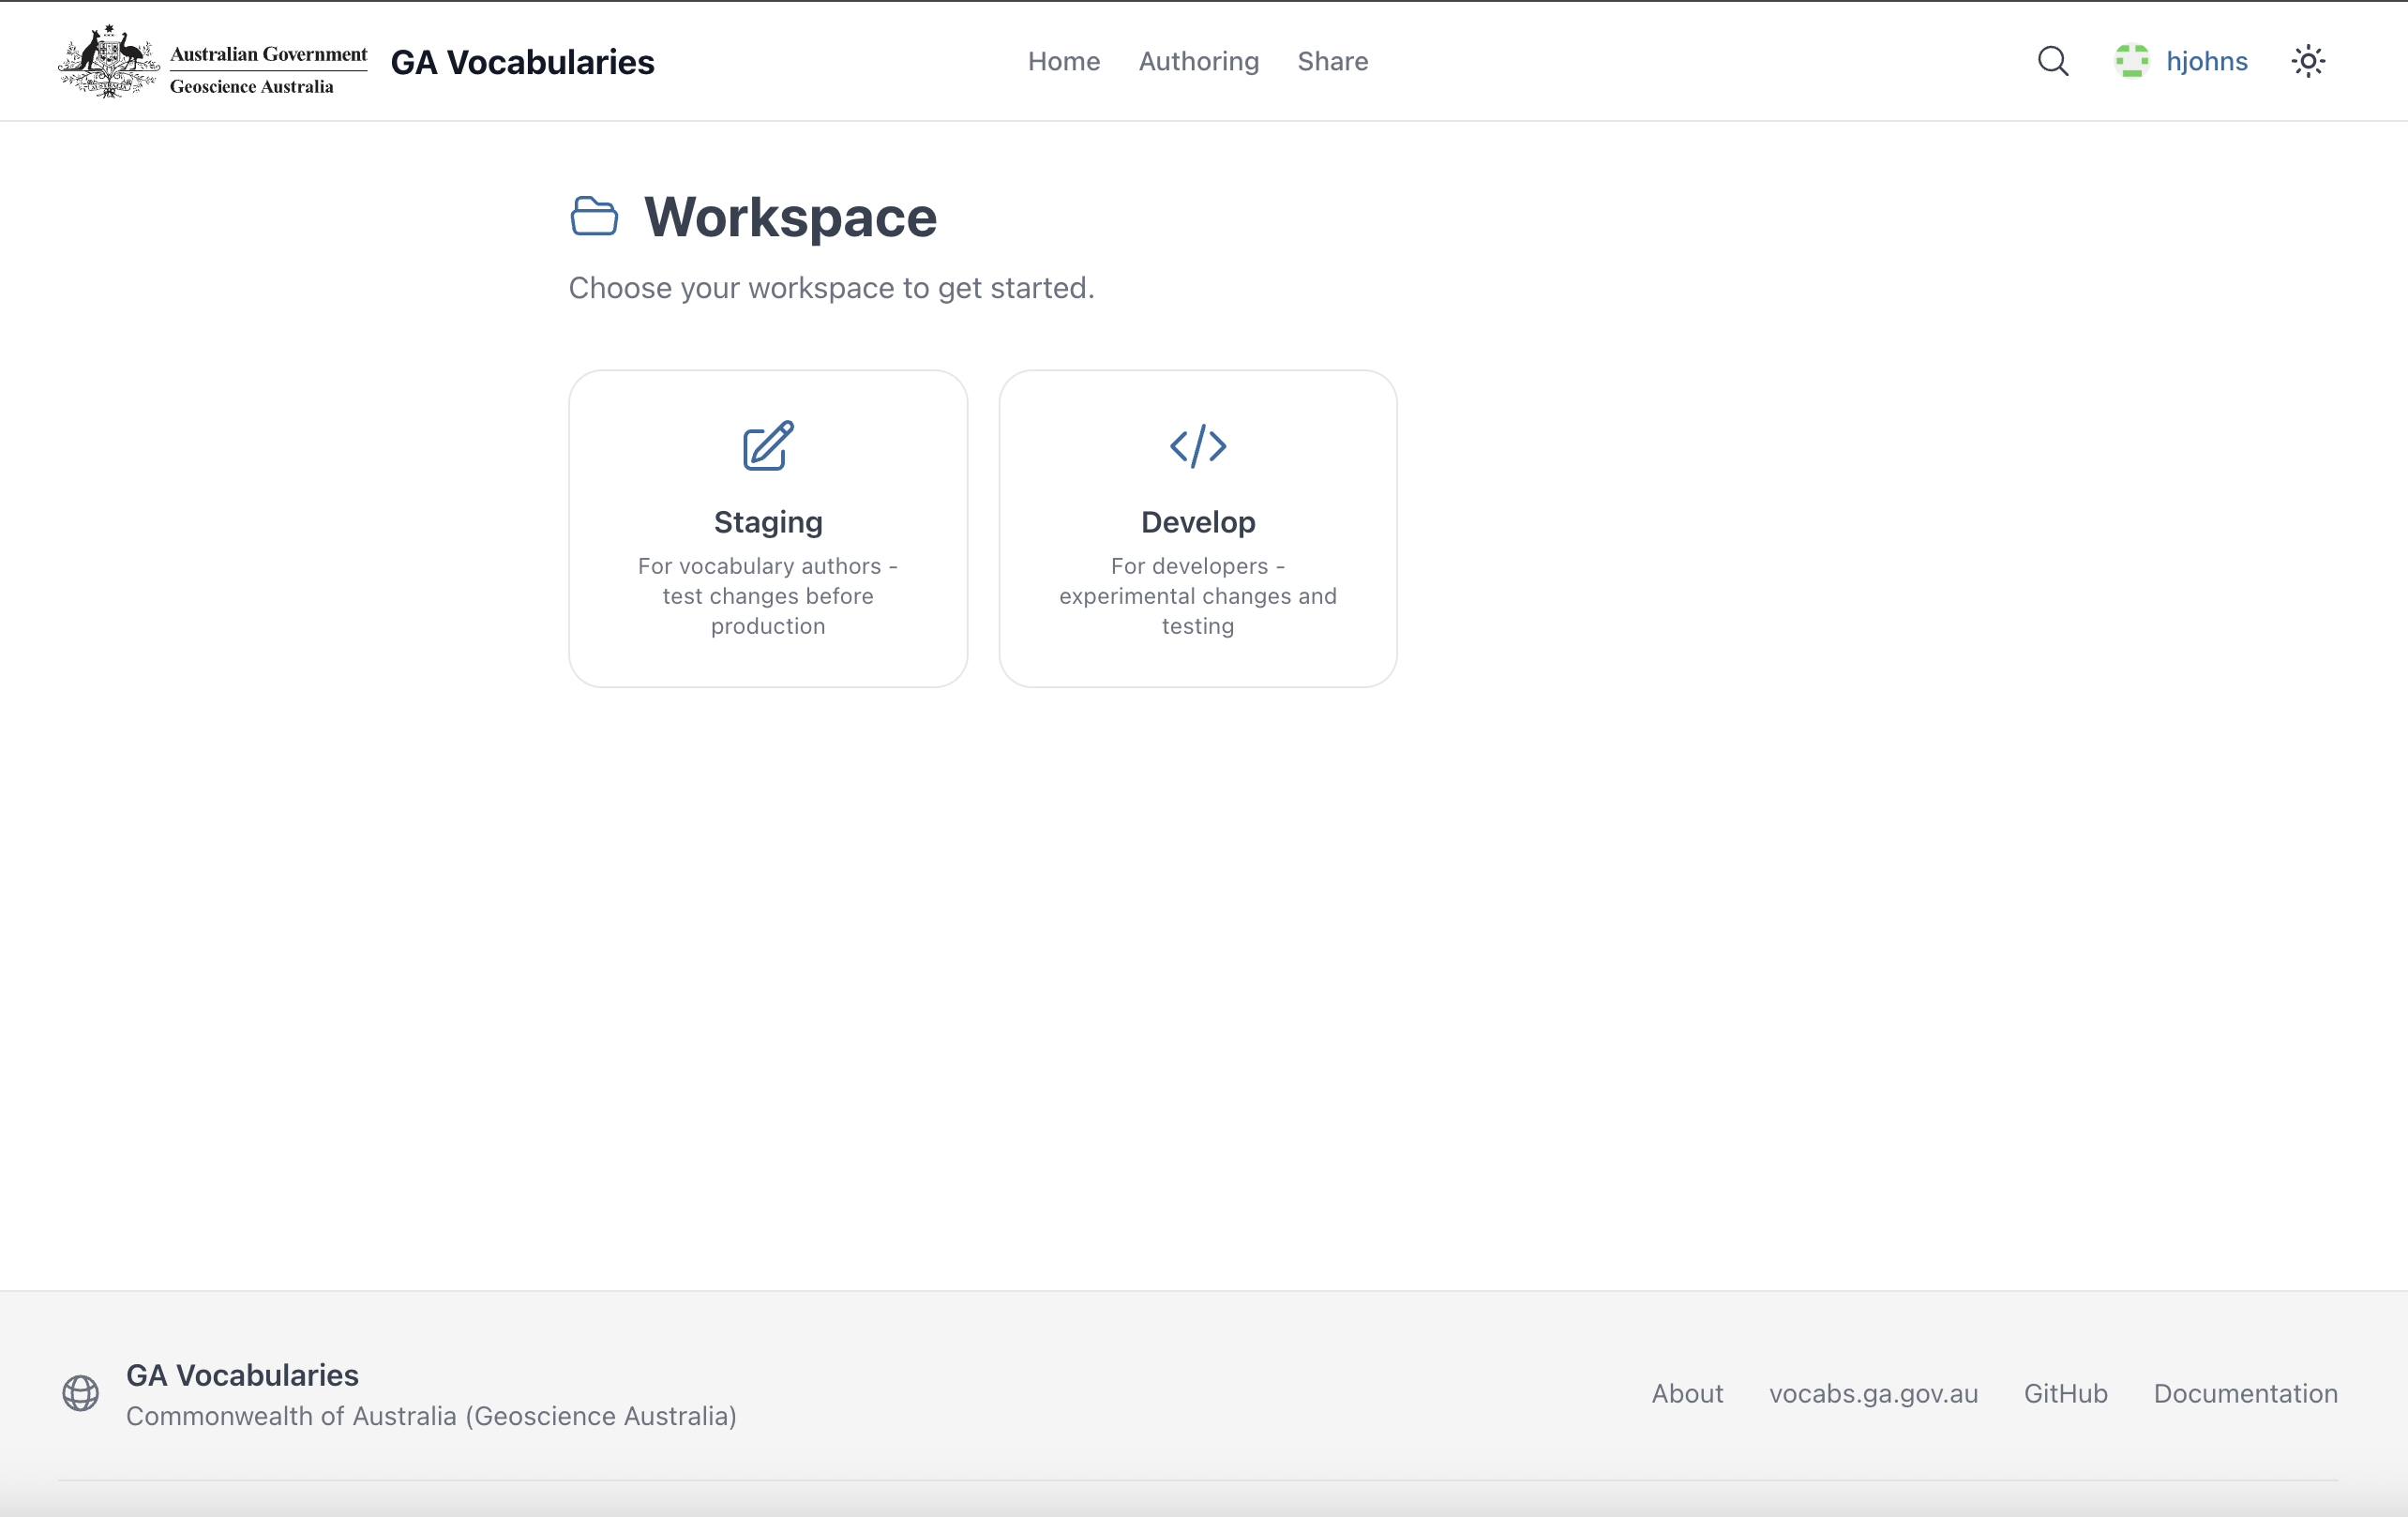
After signing in, editors choose a workspace:
- Staging — for vocabulary authors to prepare and test changes before production
- Develop — for developers to experiment and test
staging branch; Develop to develop.
Select a Vocabulary to Edit
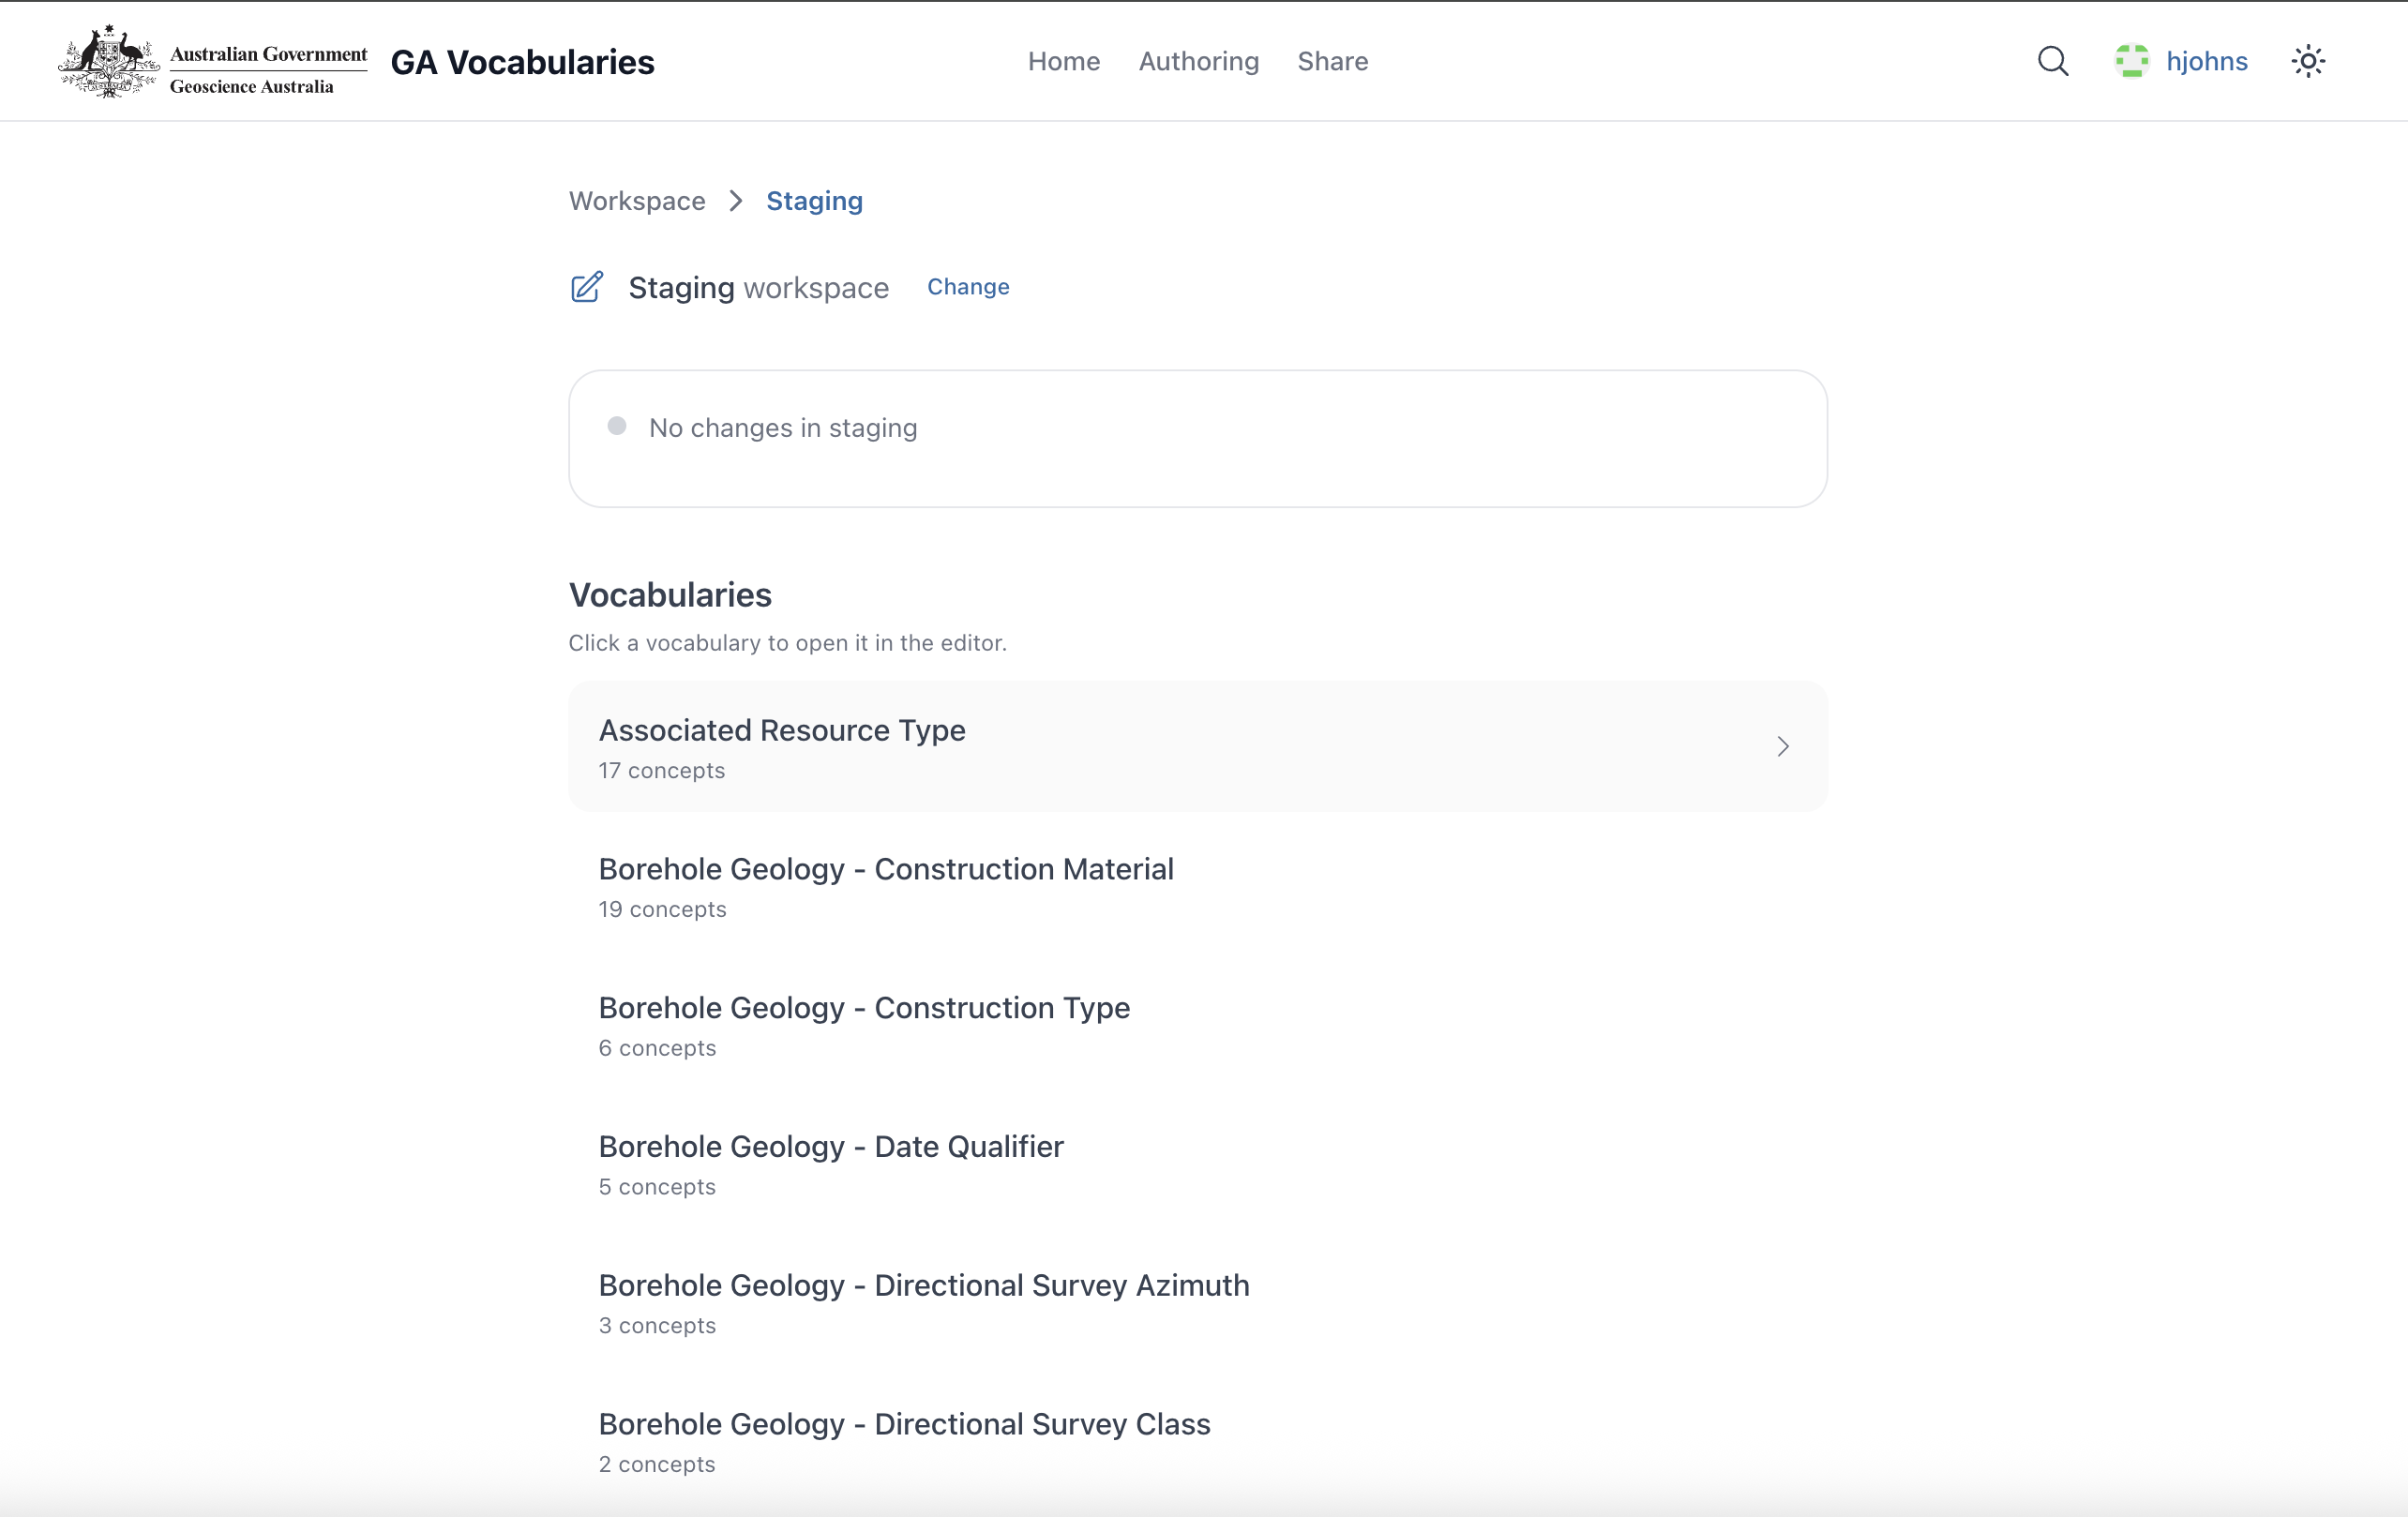
Vocabulary list in Staging workspace
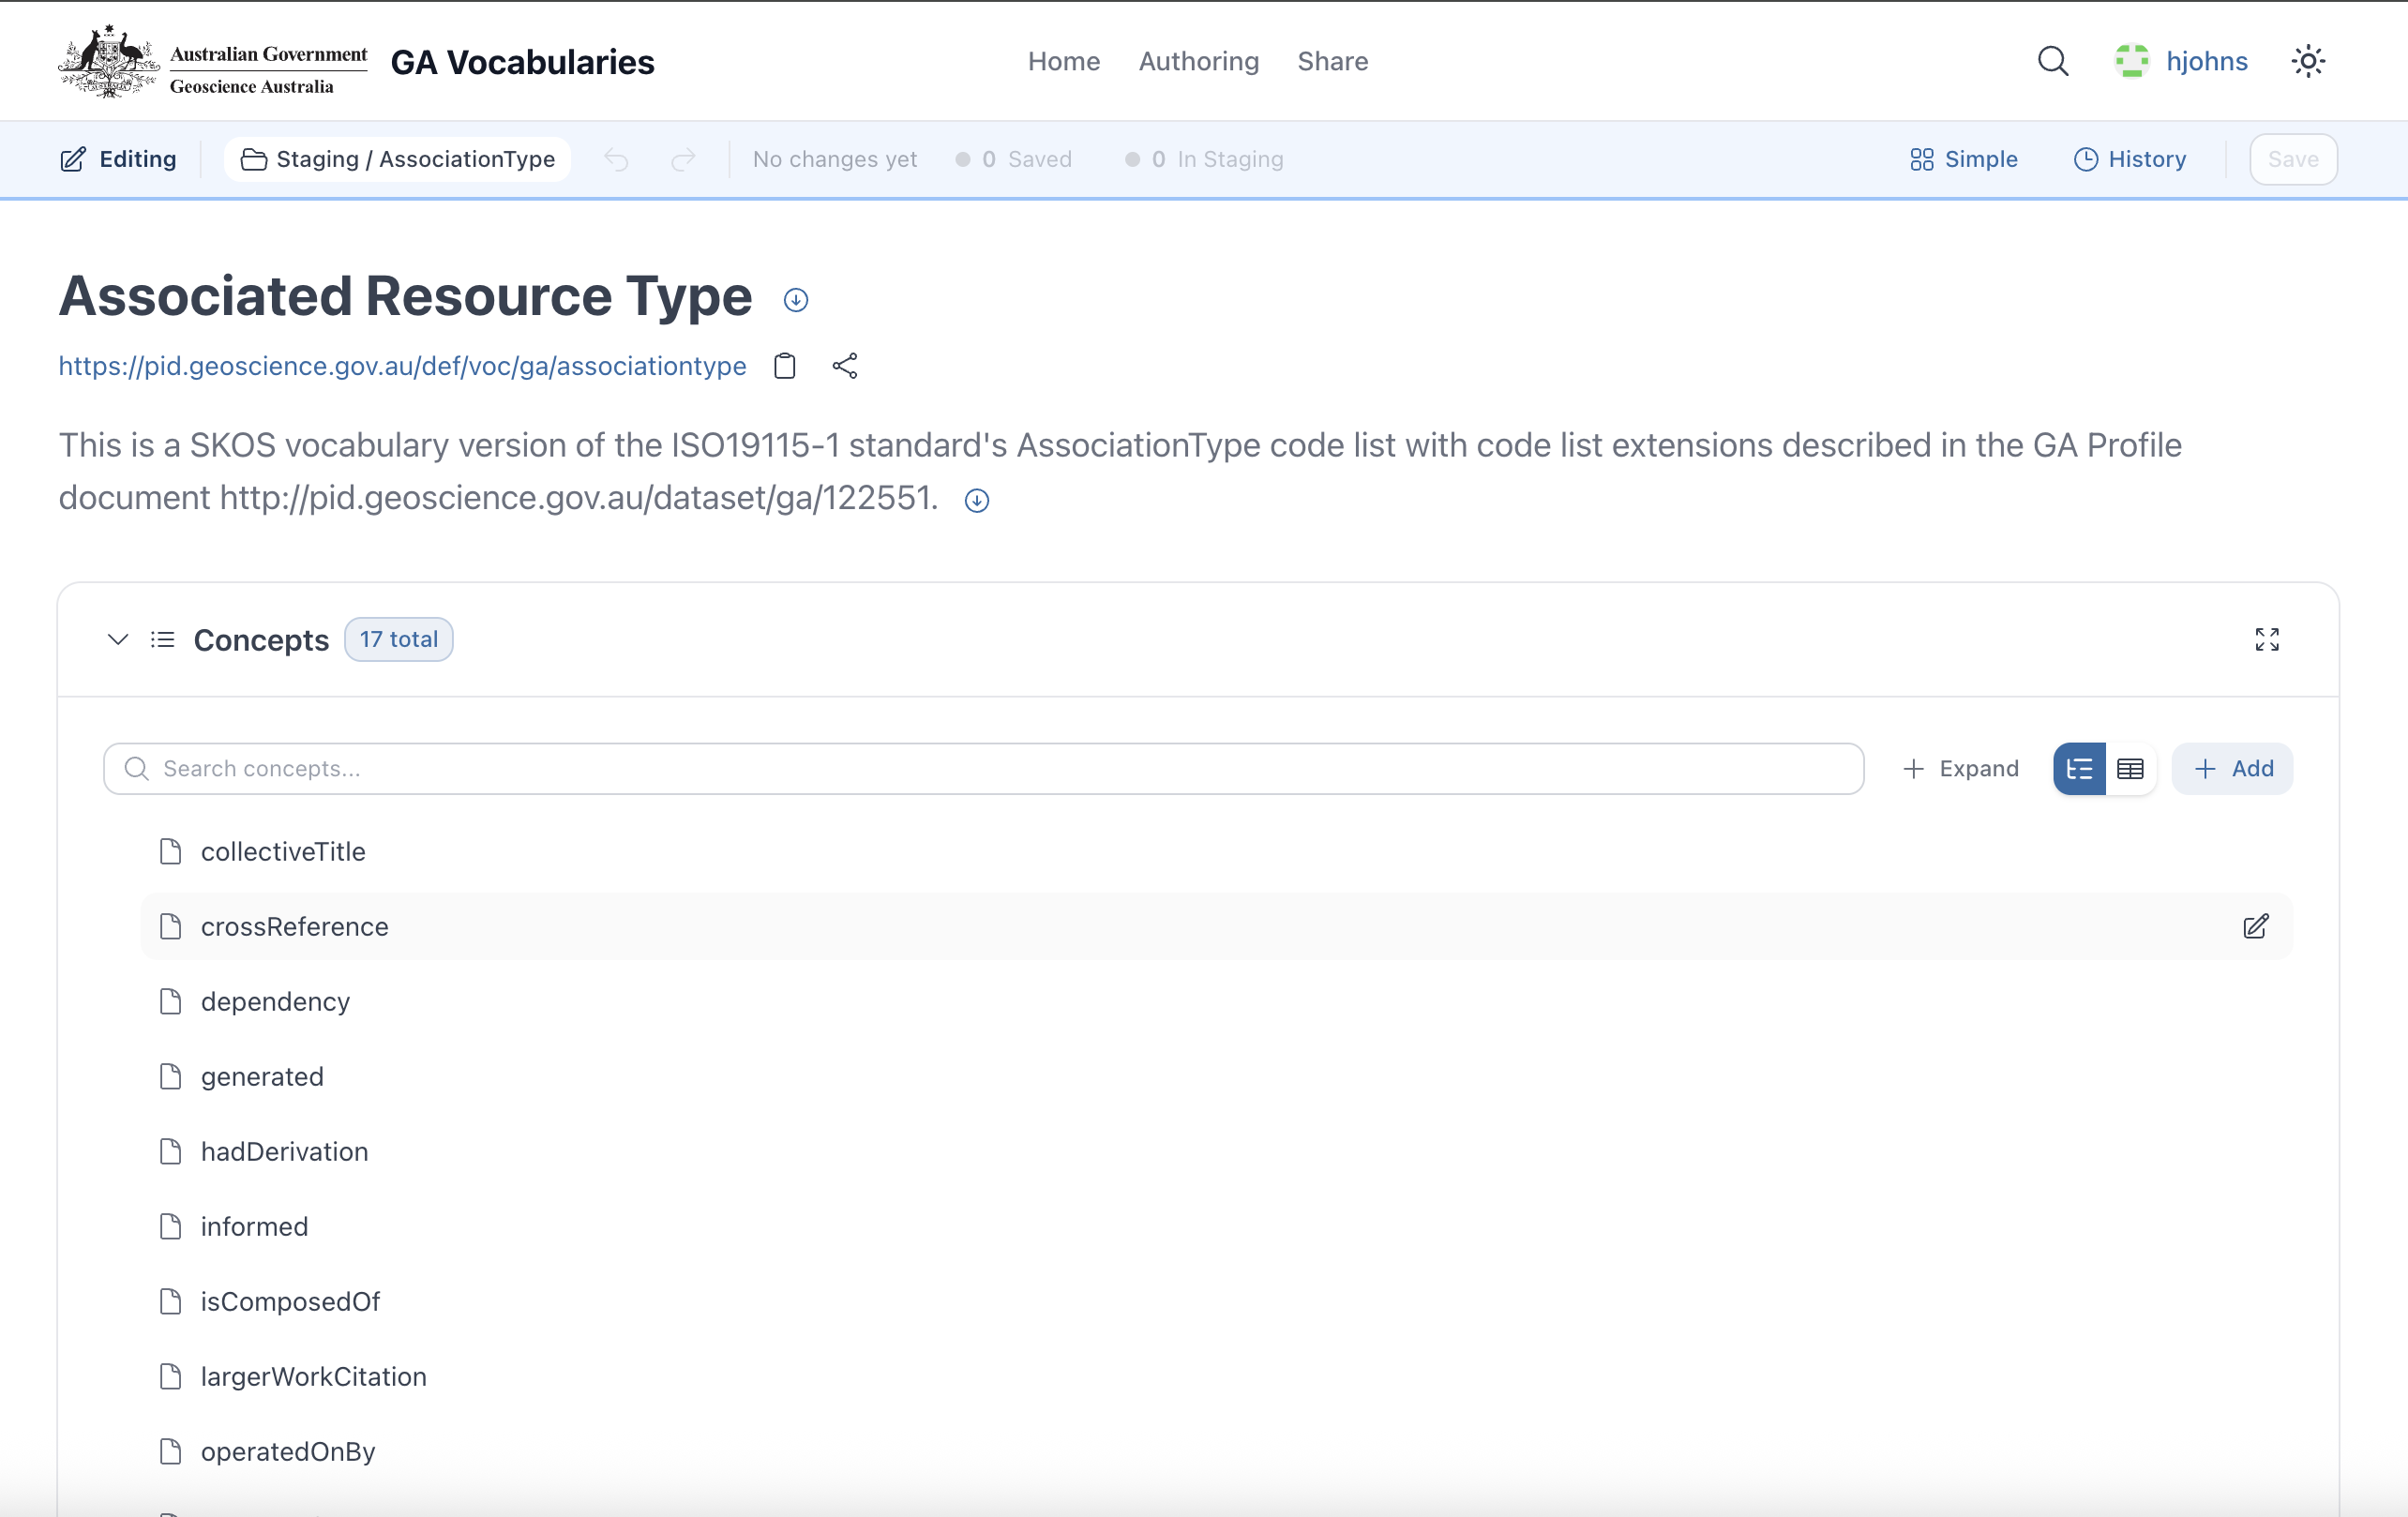
Vocabulary open in the editor
Click any vocabulary to open it in the editor. The editing toolbar appears at the top with save, submit, and view controls.
Navigate Concept Hierarchies
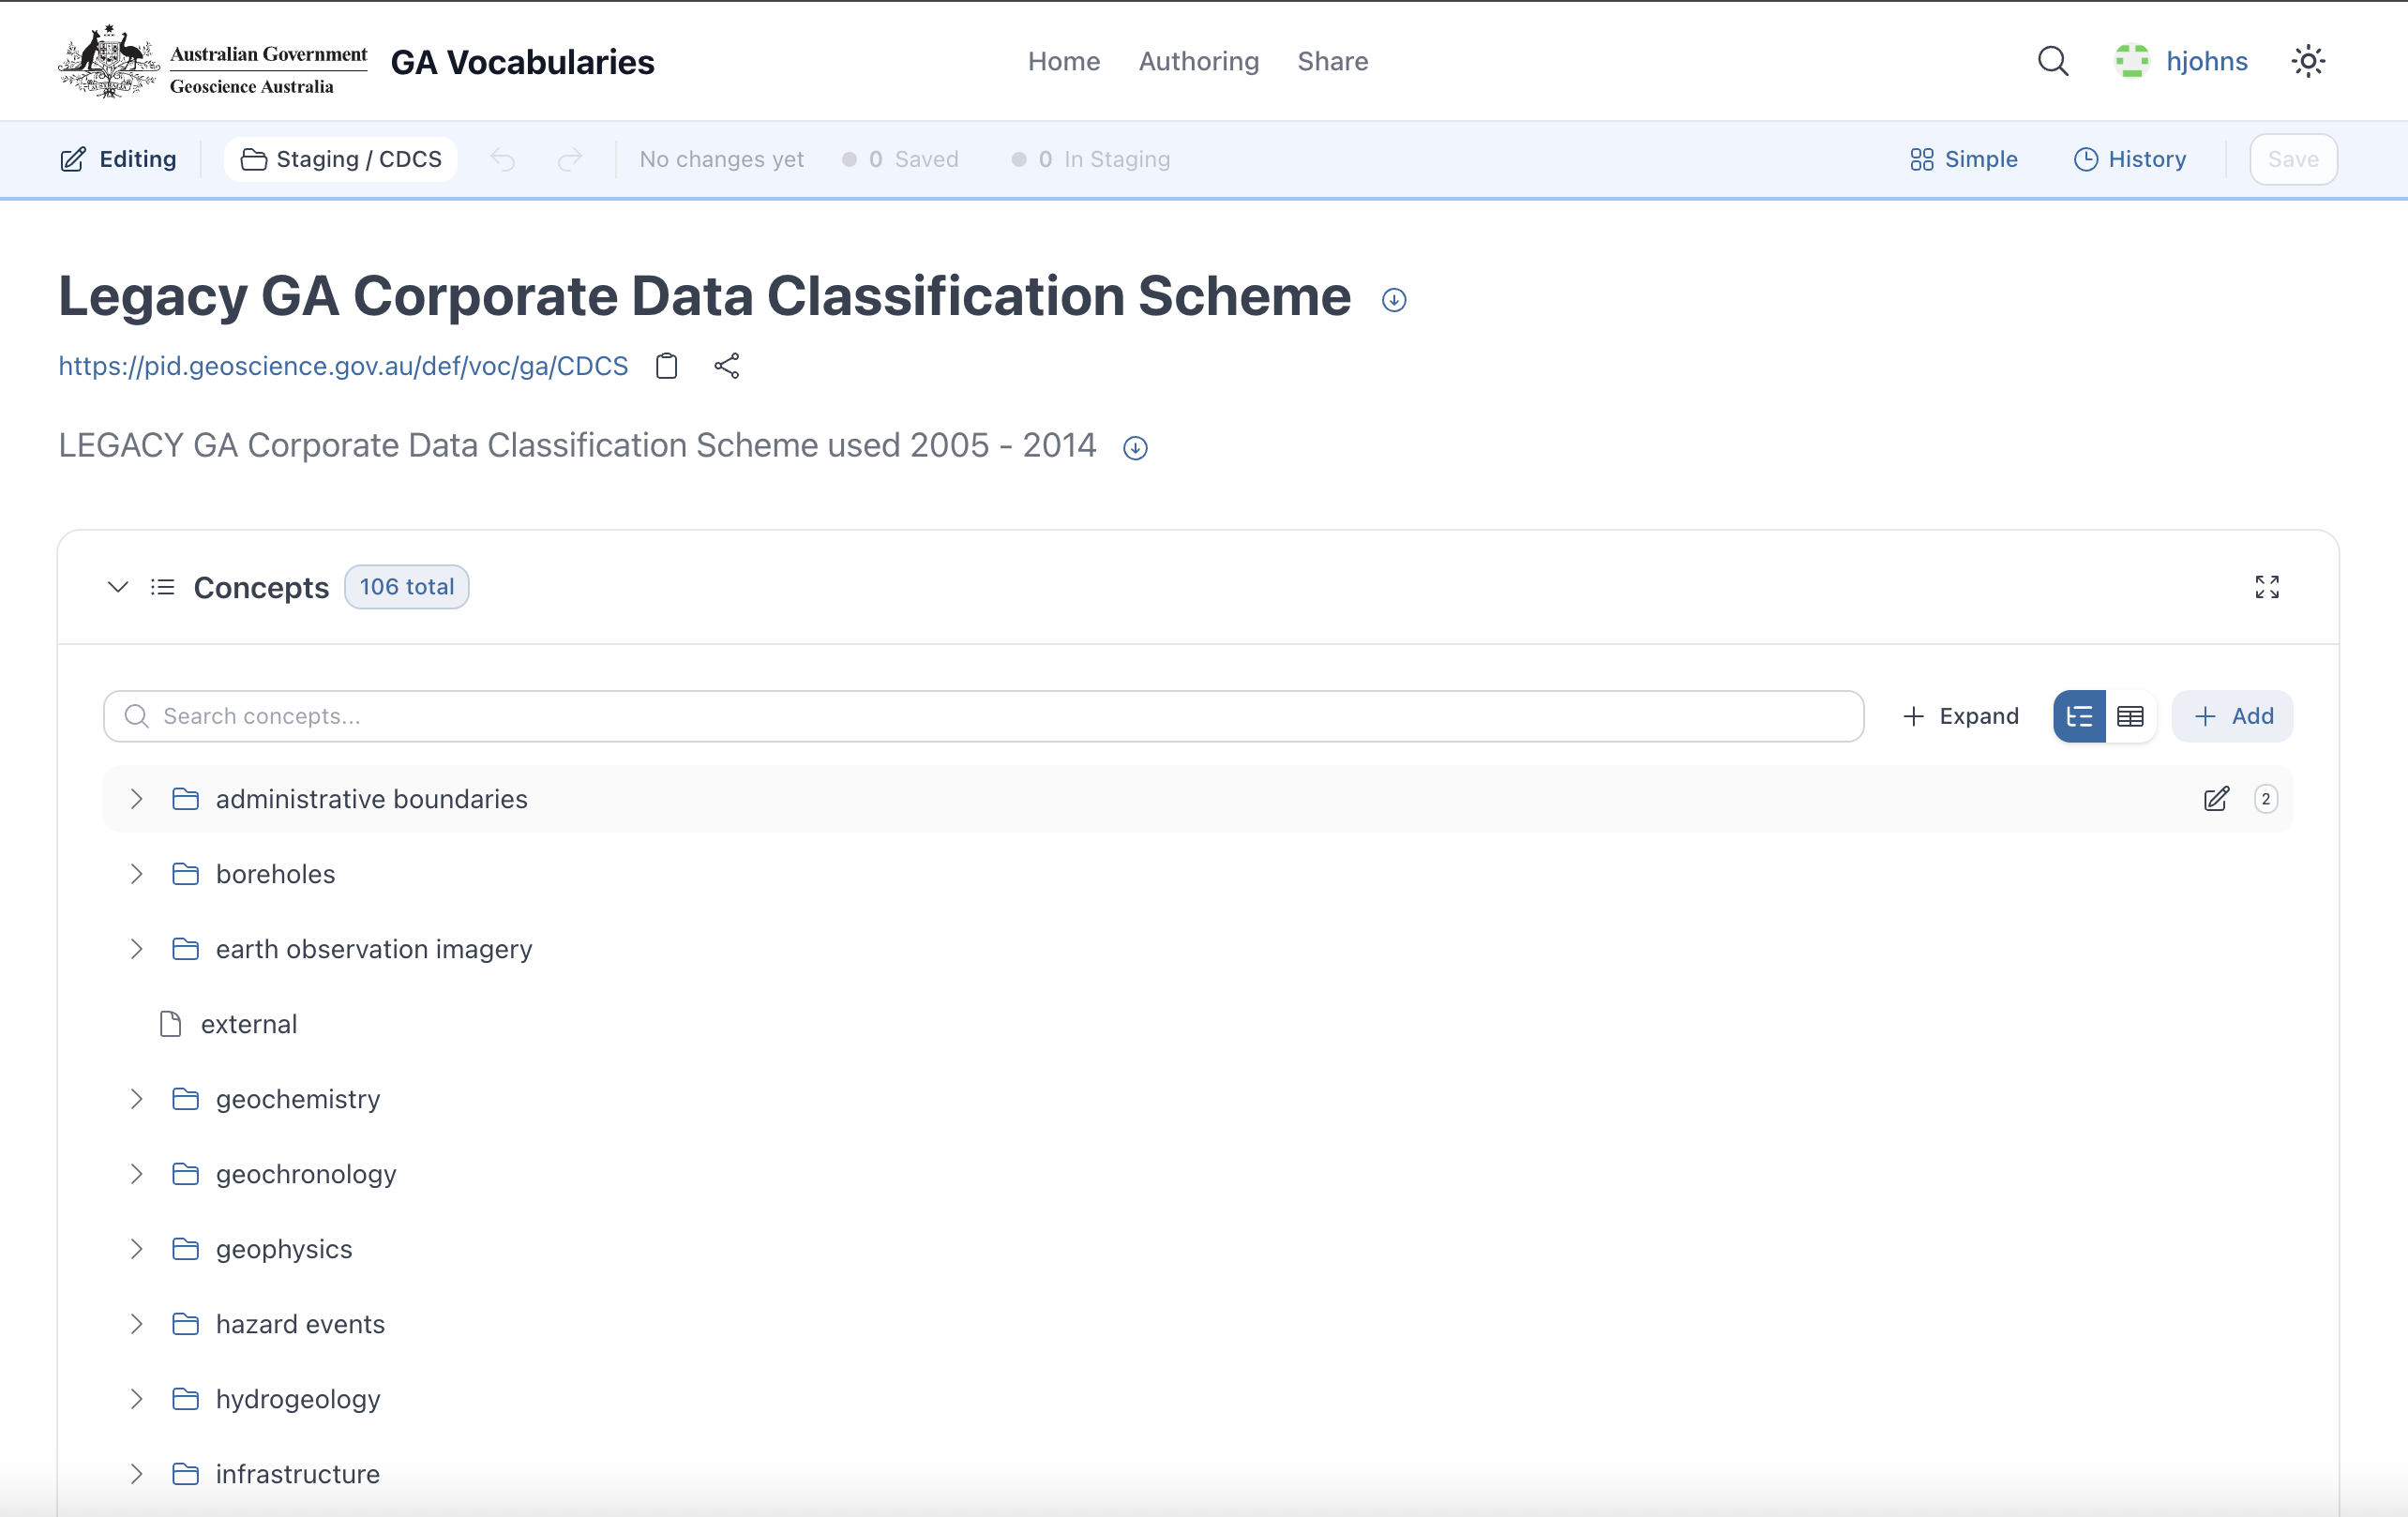
Expandable hierarchy tree (306 concepts)
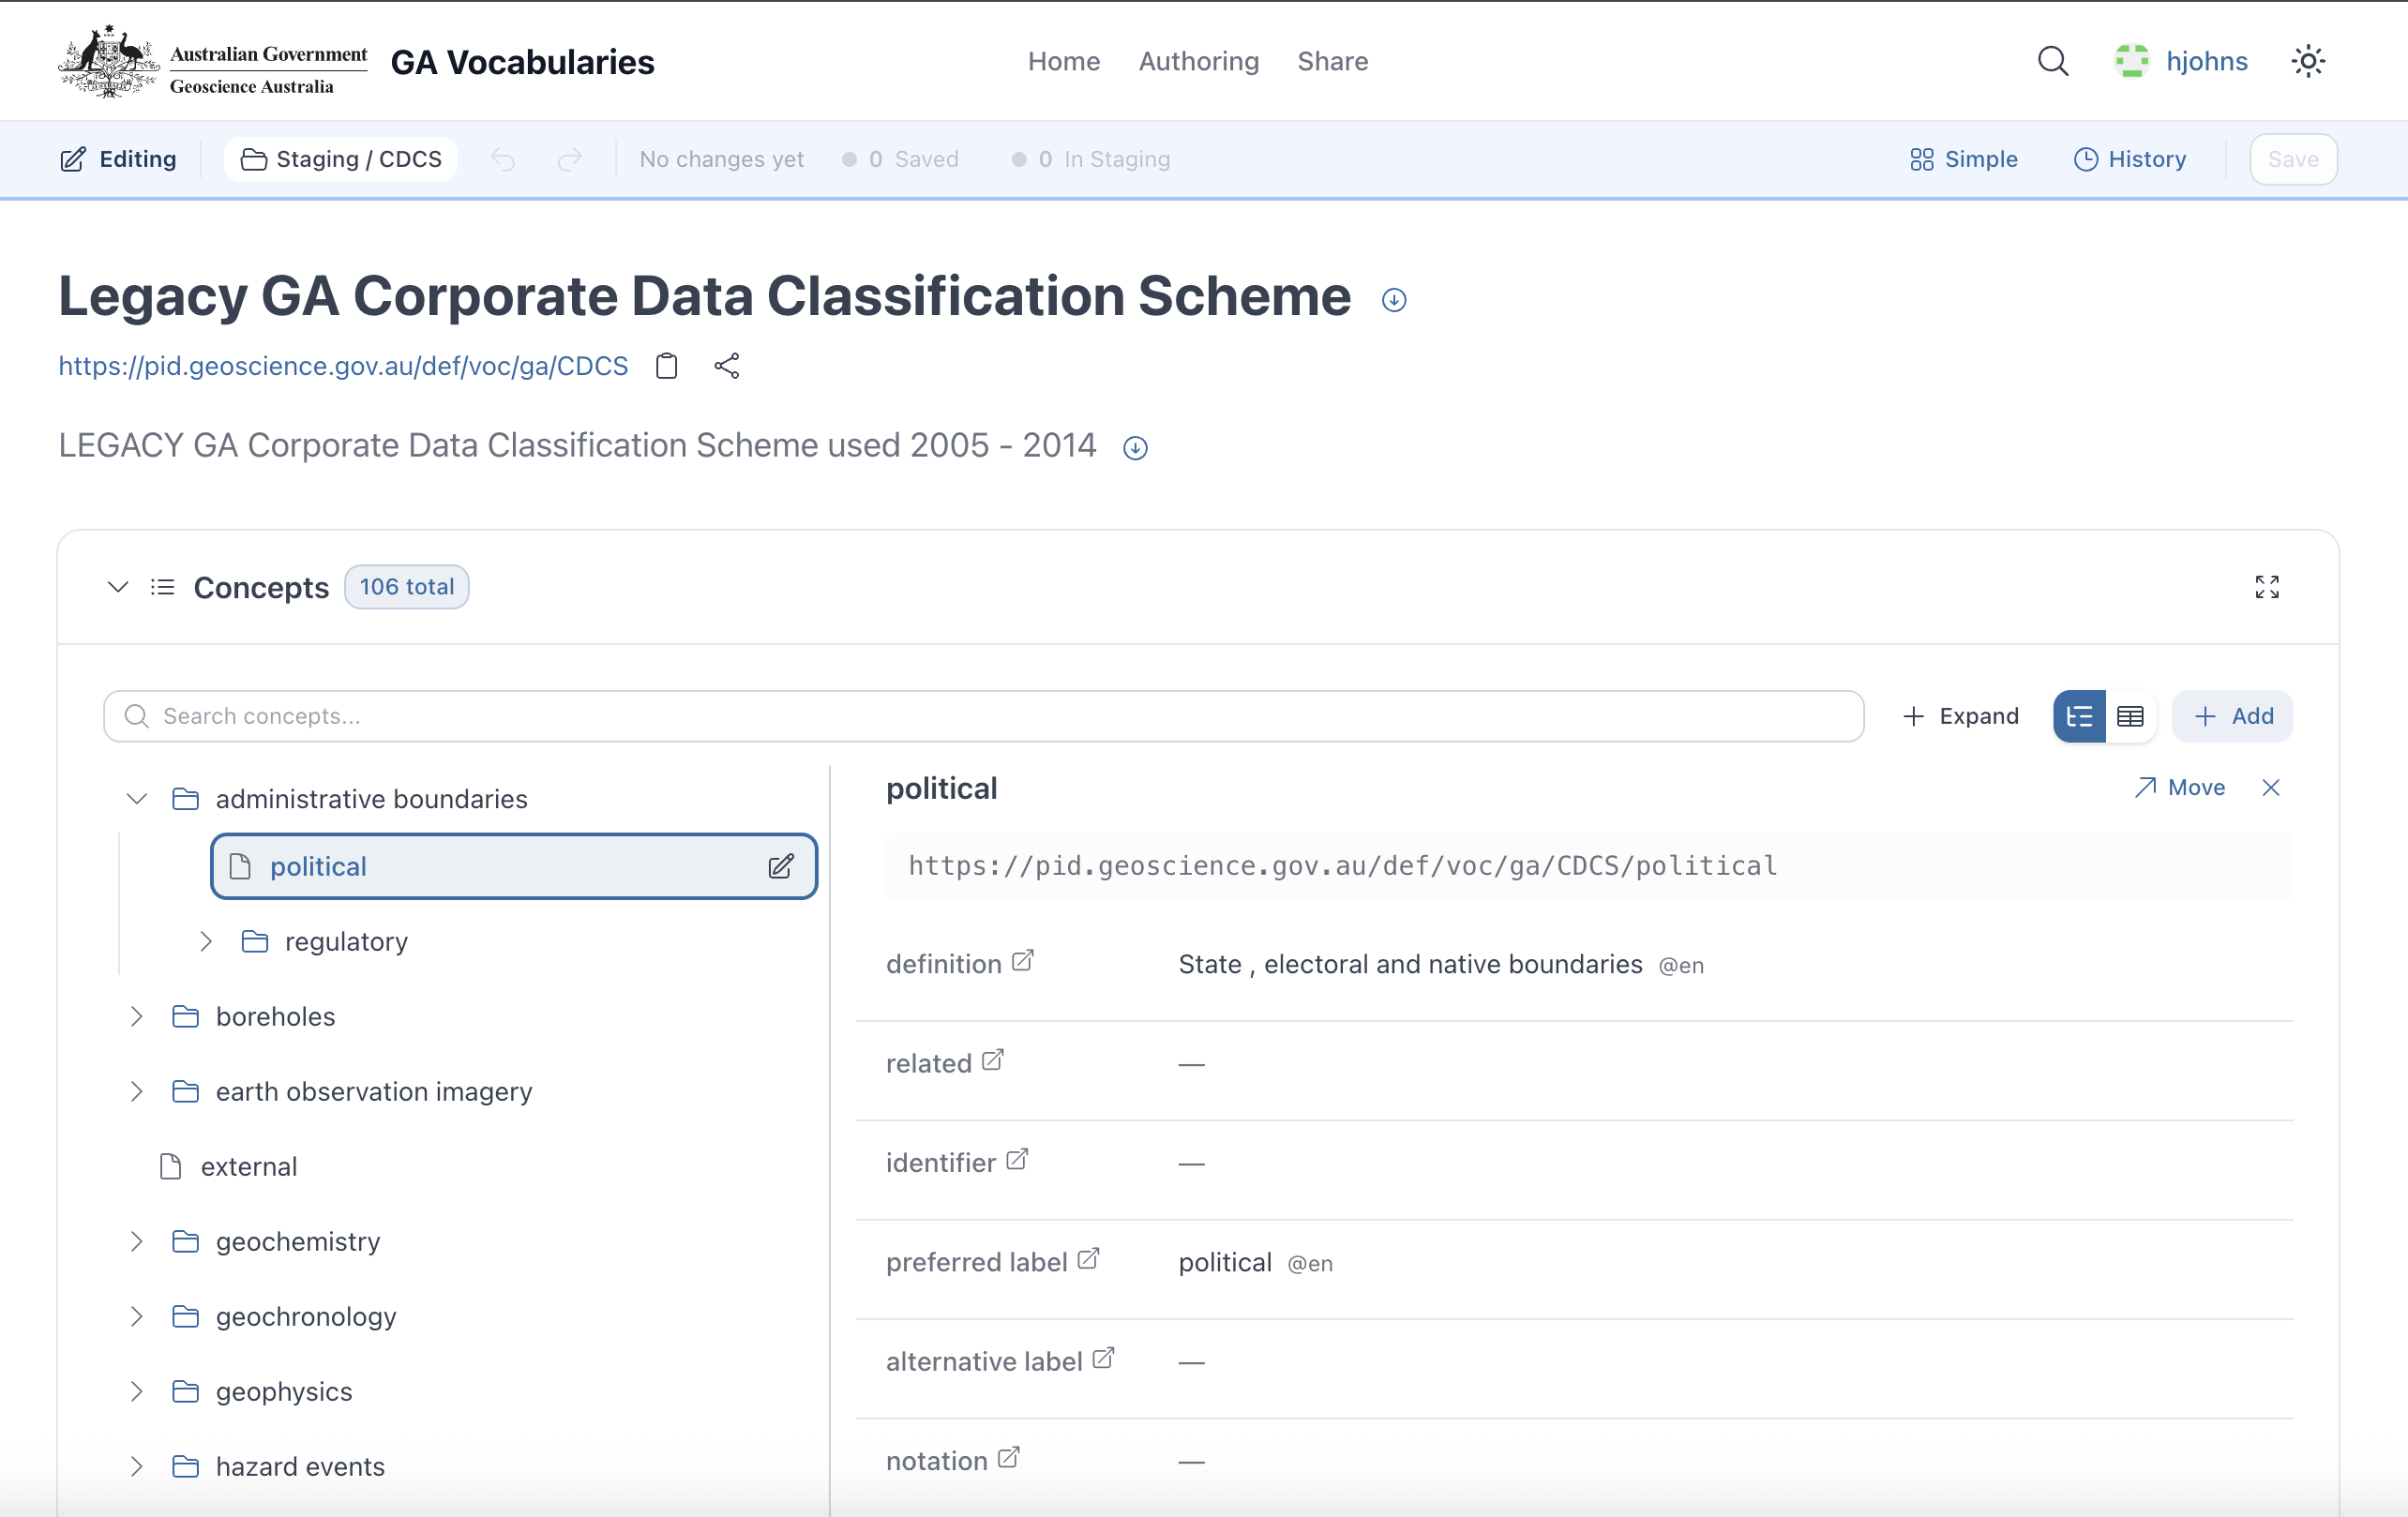
Concept properties panel
Browse concepts in an expandable tree. Click any concept to see its properties — definition, labels, identifiers, relationships, and more.
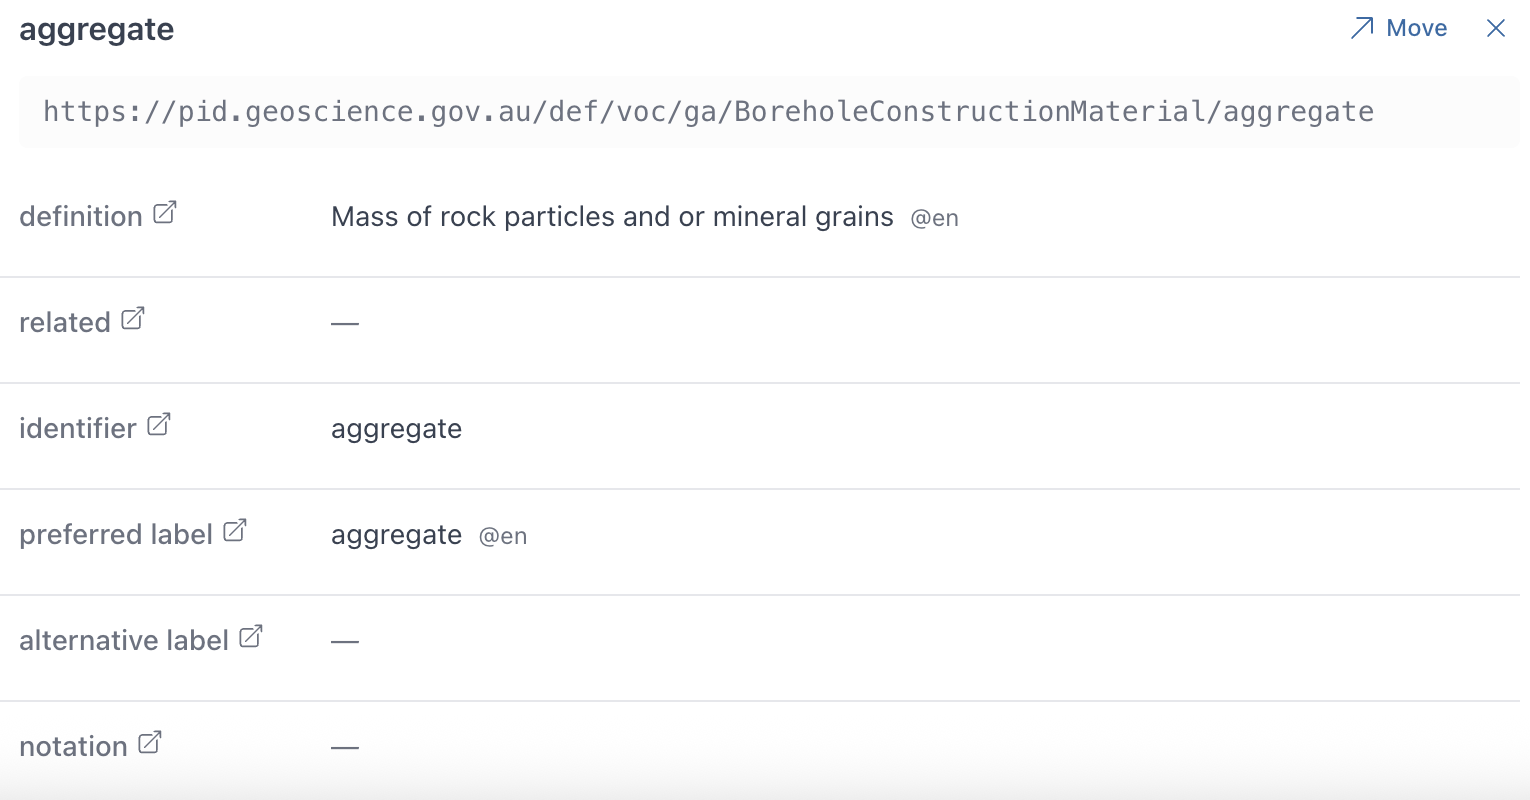
Edit Concept Properties
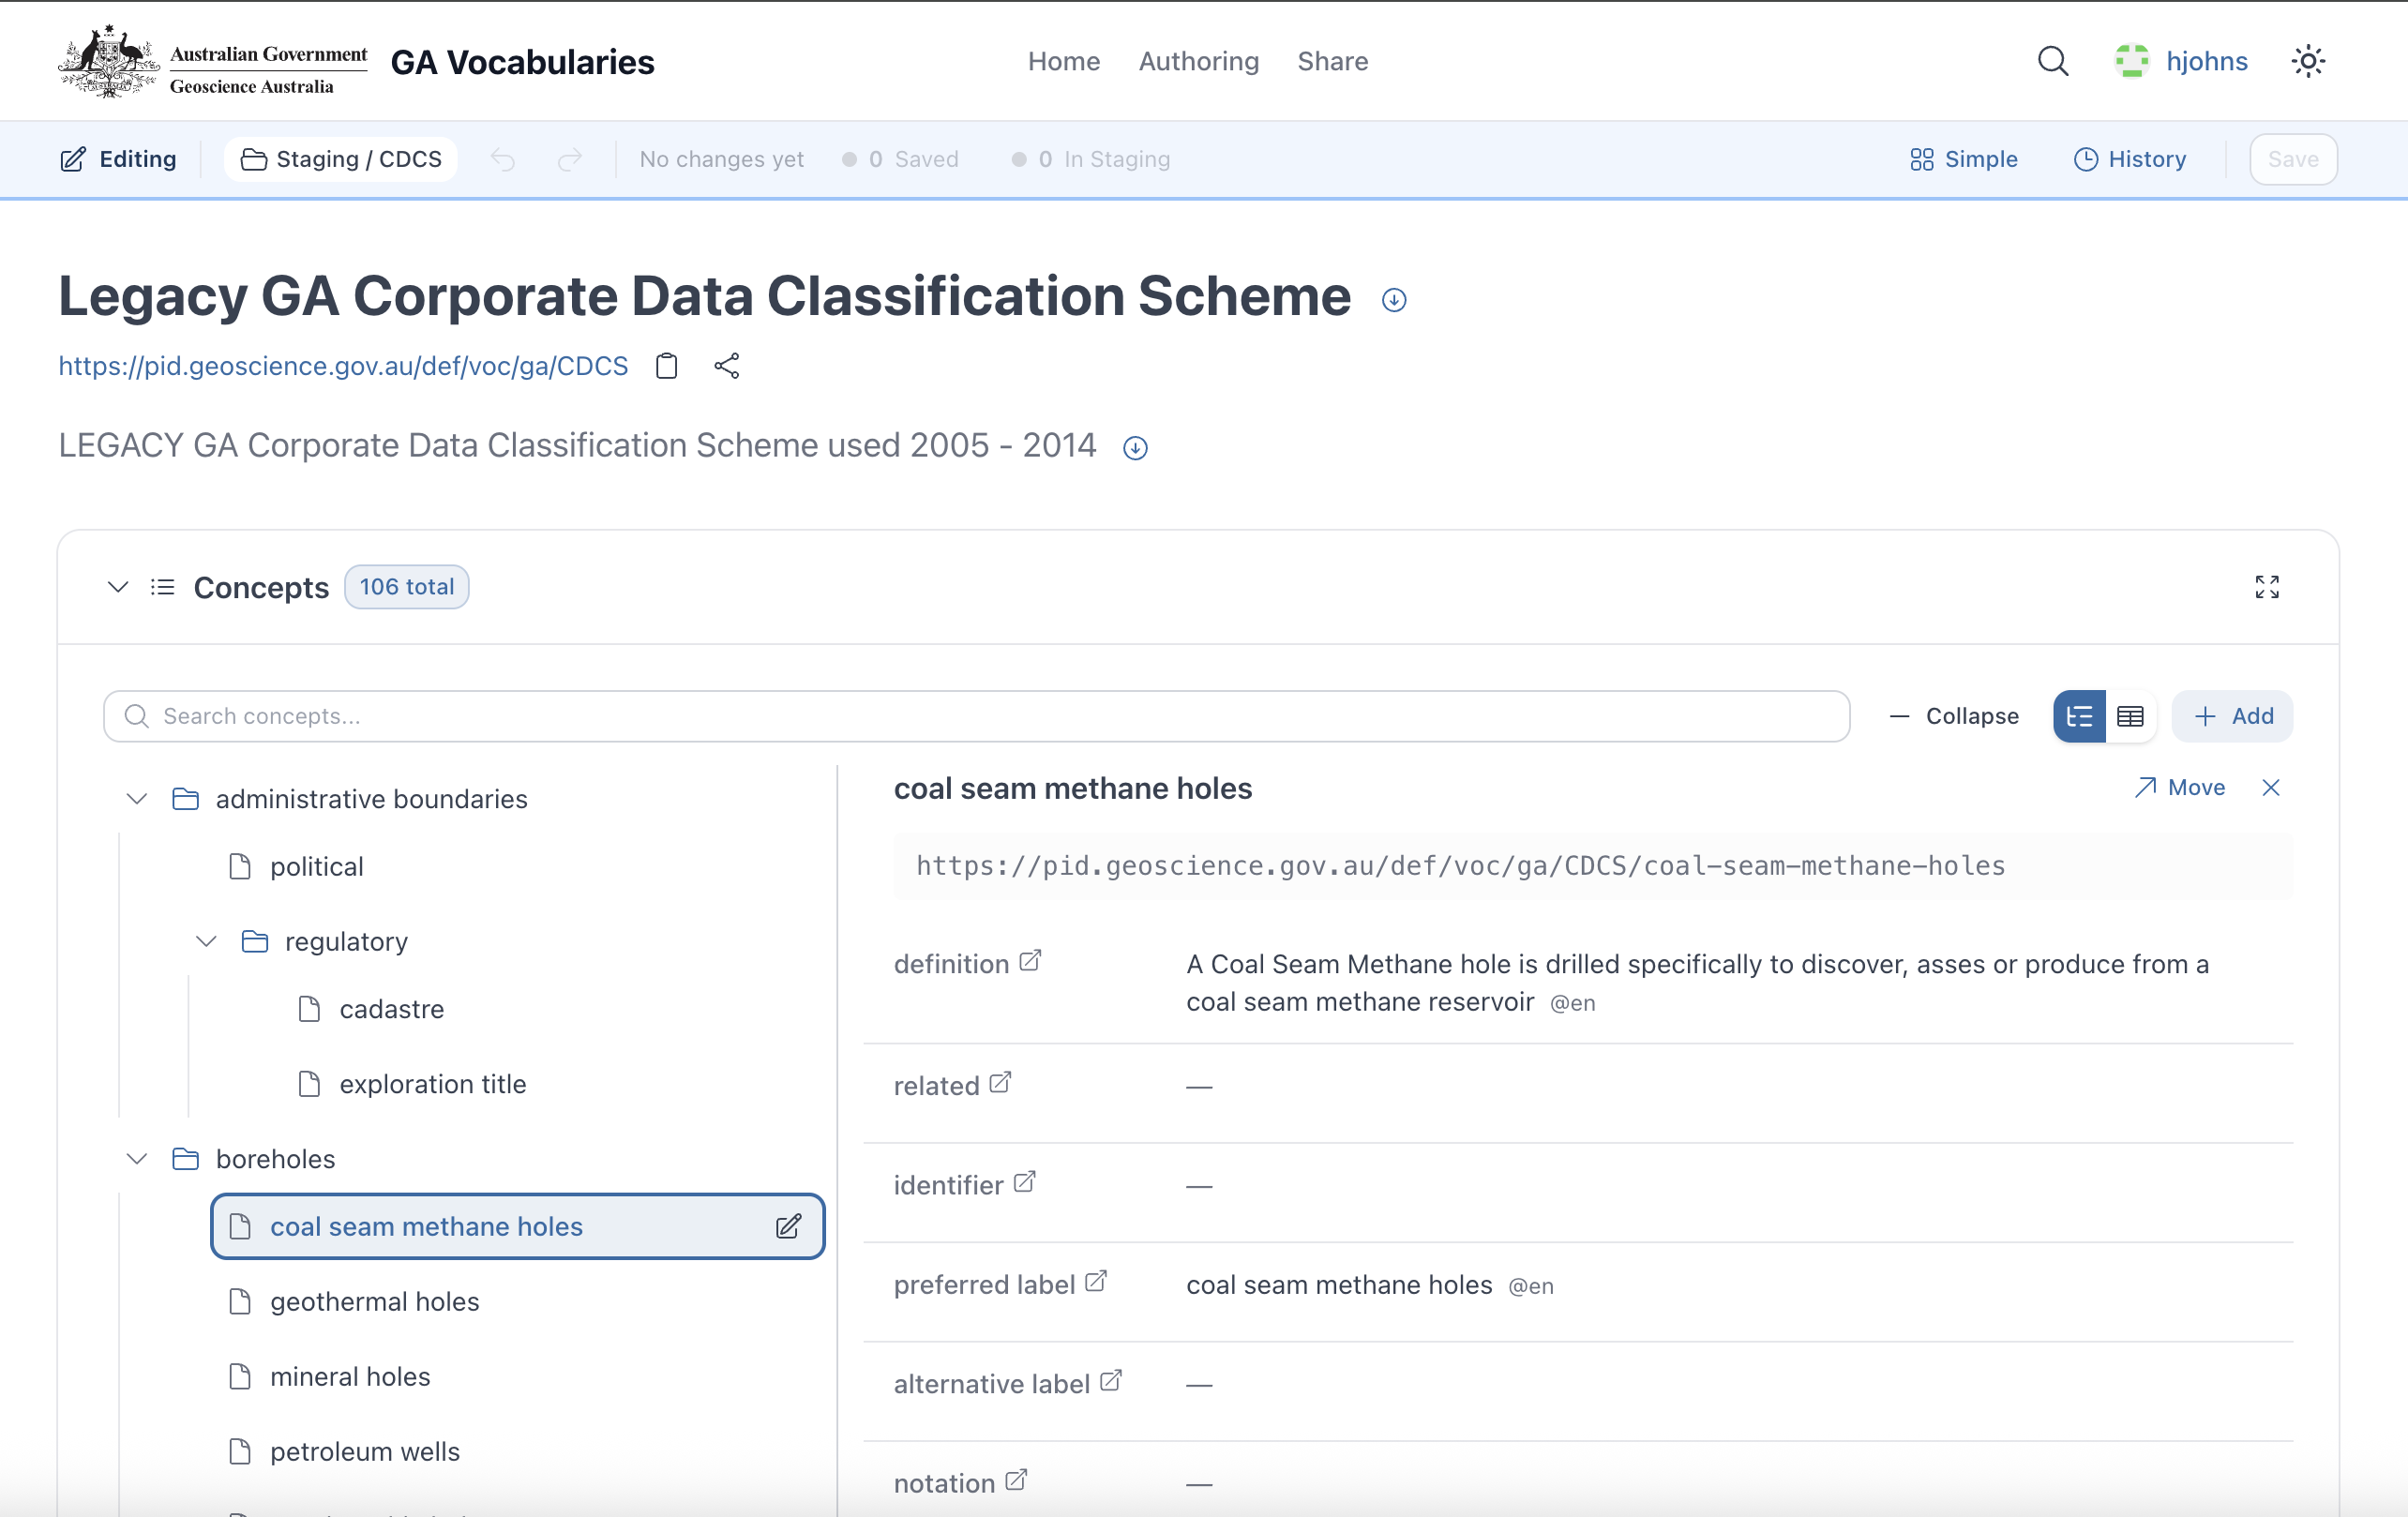
Select a concept to edit
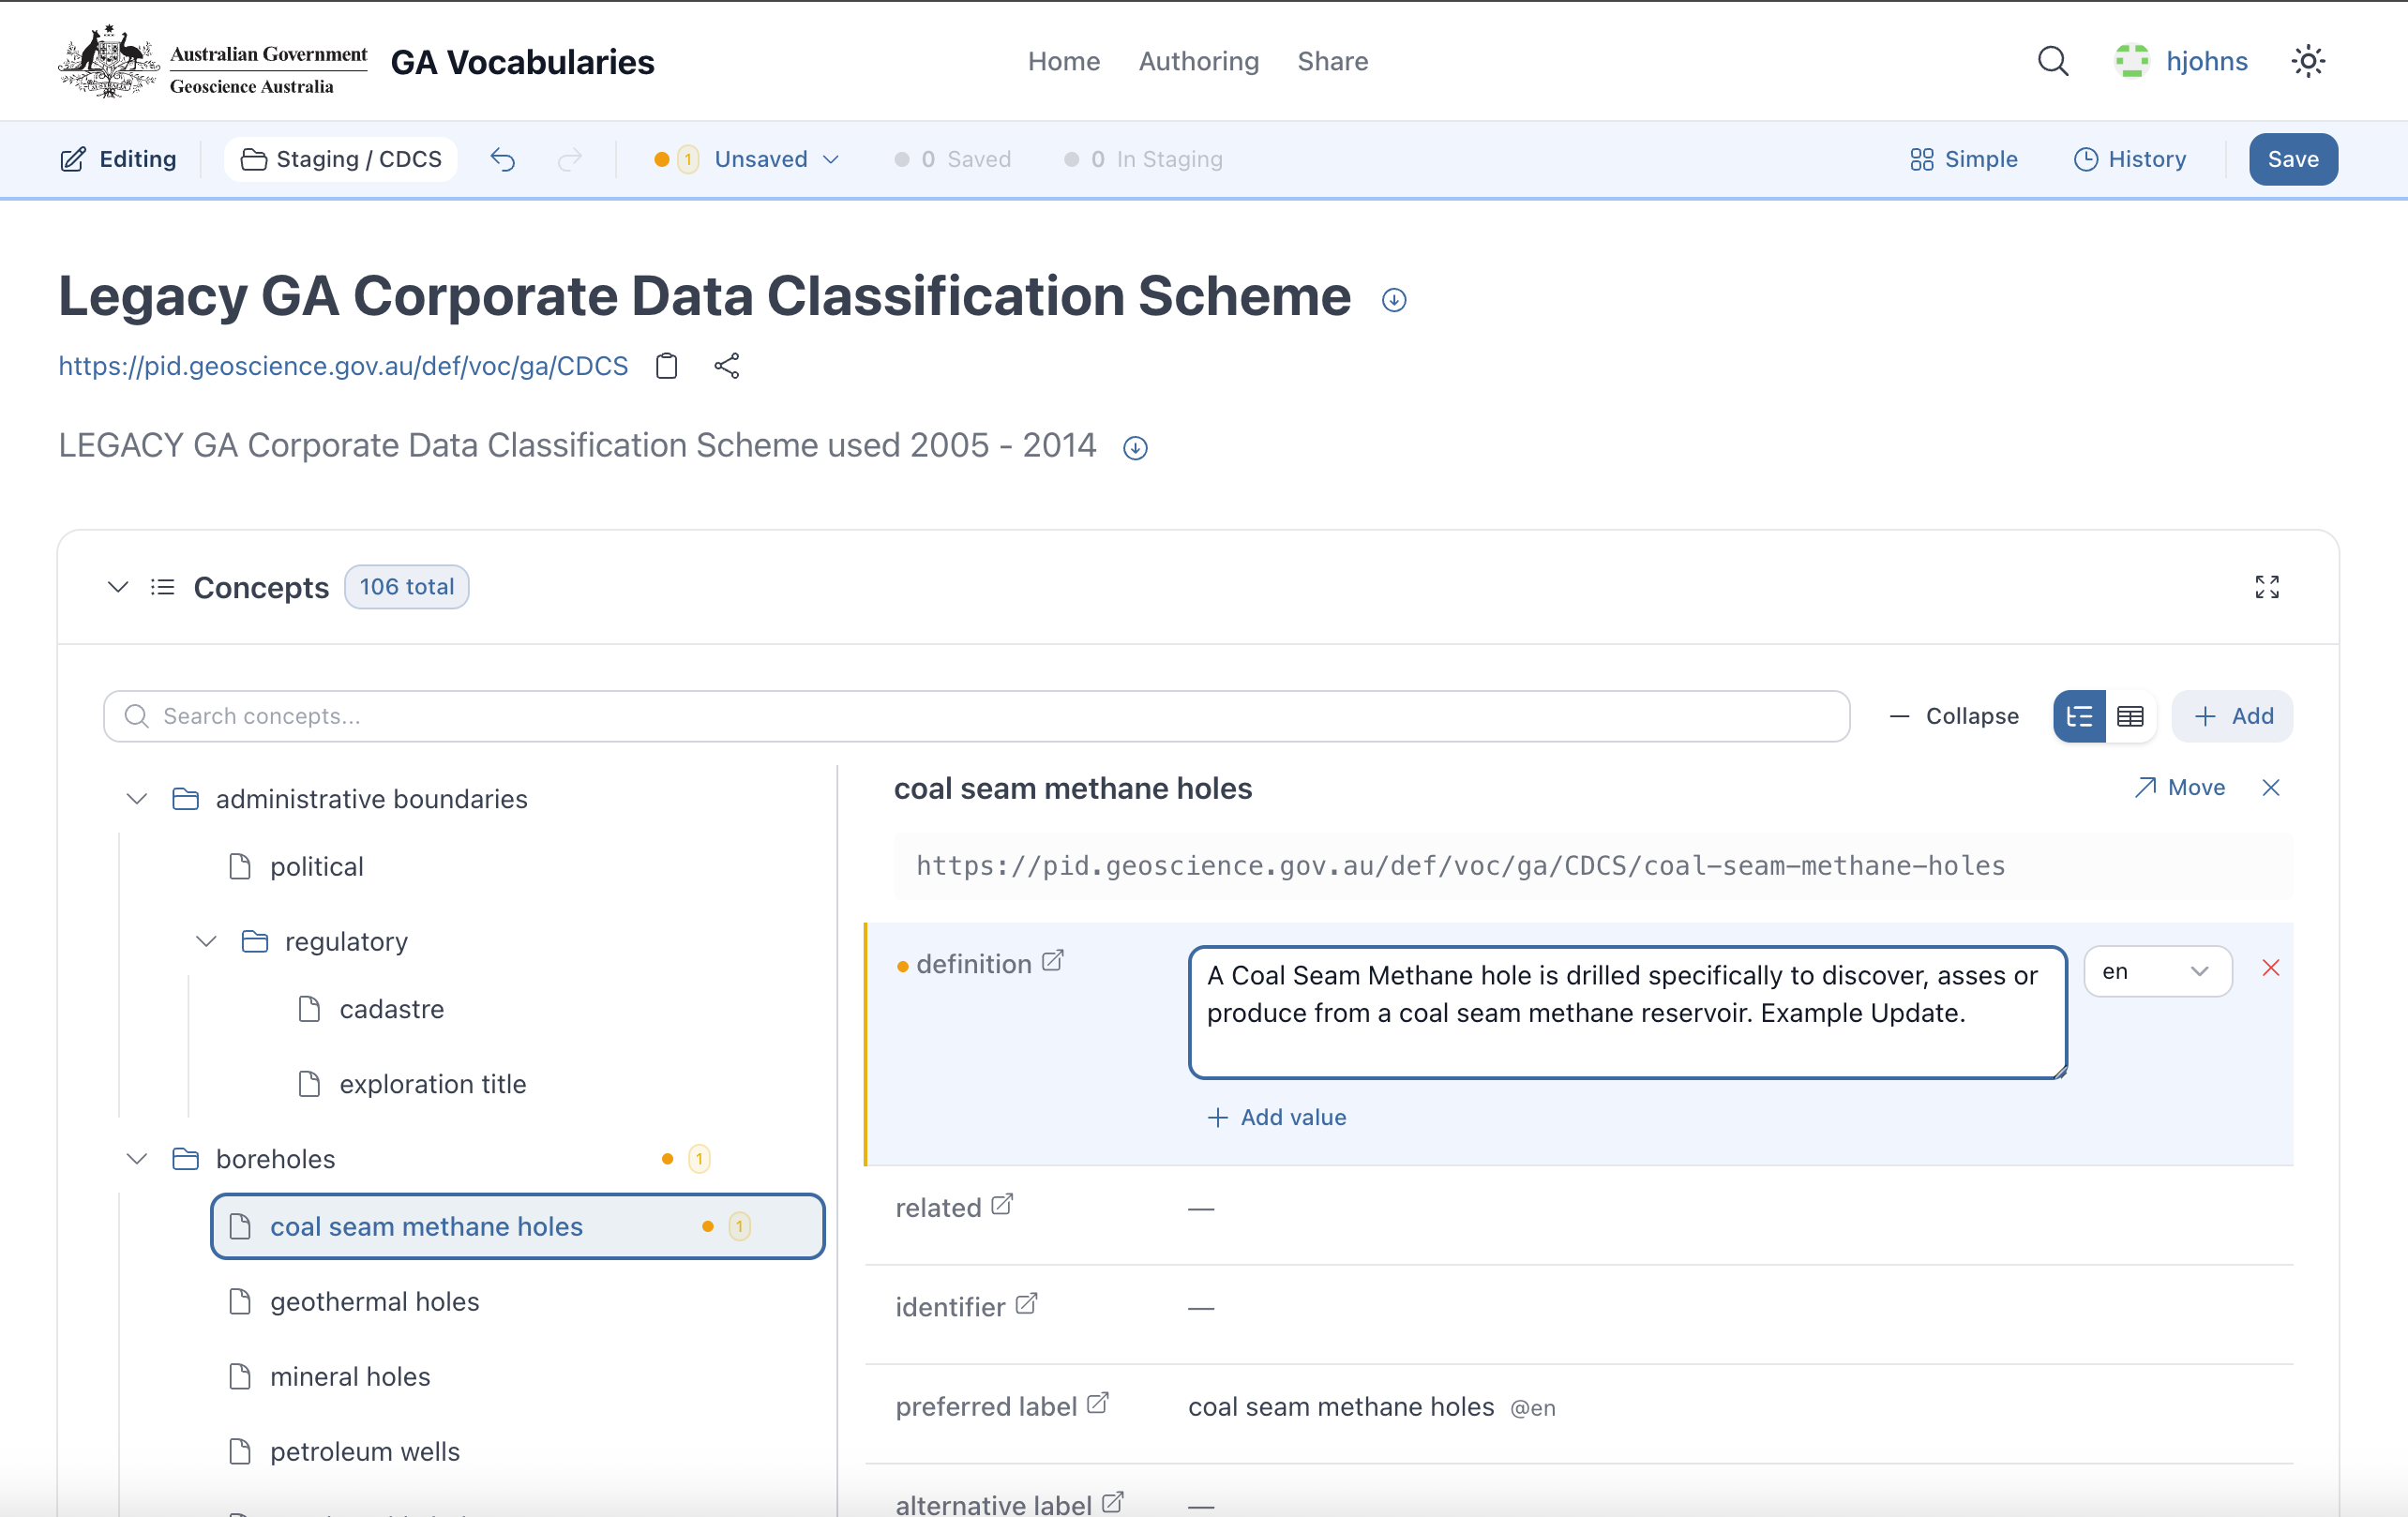
Inline editing with change highlighting
Edit any property directly in the browser:
- Click the edit icon next to any field
- Modify definitions, labels, identifiers, notations
- Add new values or remove existing ones
- Changes are highlighted in yellow until saved
- Unsaved changes indicator in the toolbar
Review Changes & Save

Unsaved changes indicator
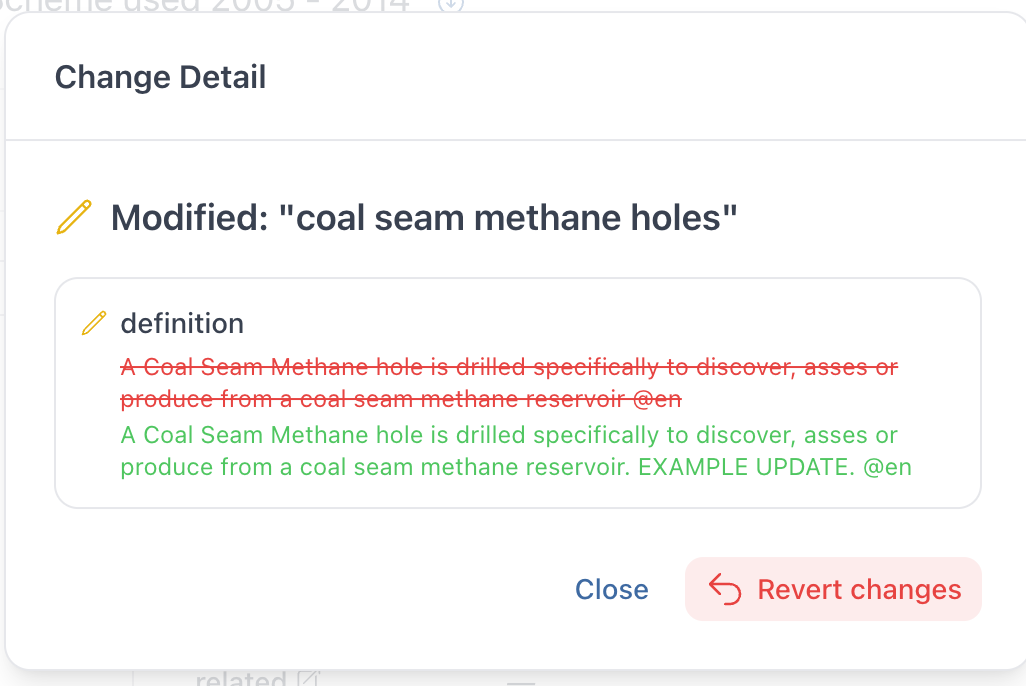
Change detail with diff view
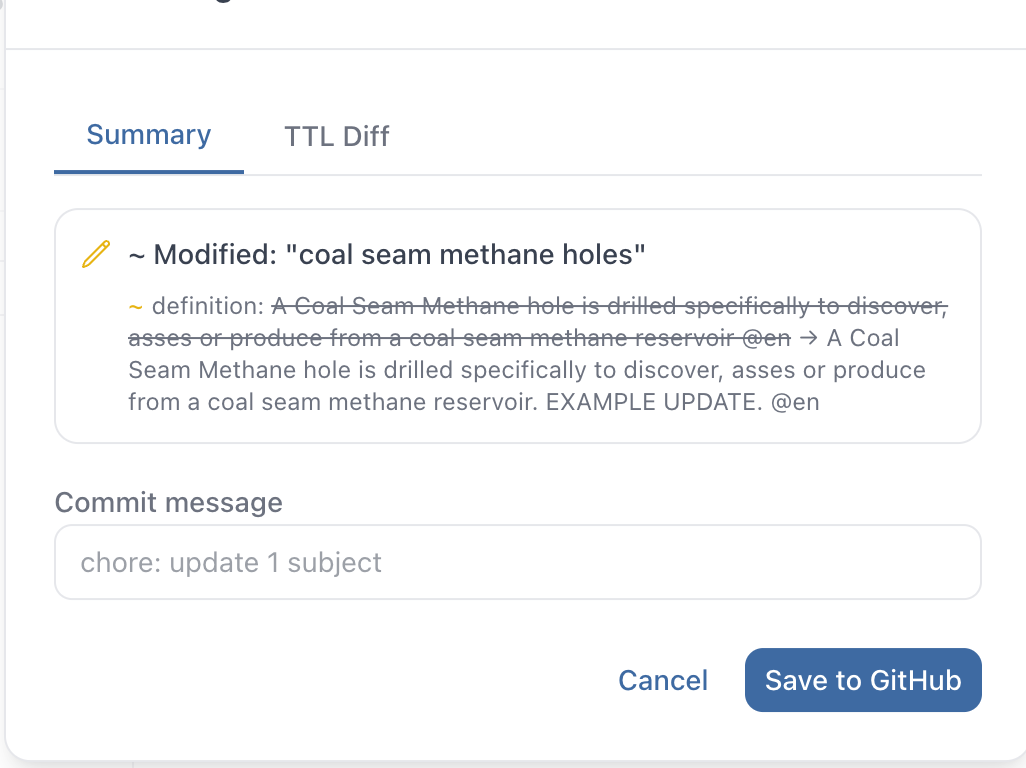
Save with commit message
- Review all pending changes before saving
- See a visual diff of what changed (red/green)
- Optionally view the raw TTL diff
- Add a descriptive commit message
- Save commits the change to your workspace branch
- Revert individual changes if needed
staging). Each save is a traceable commit with a message.
Submit for Approval
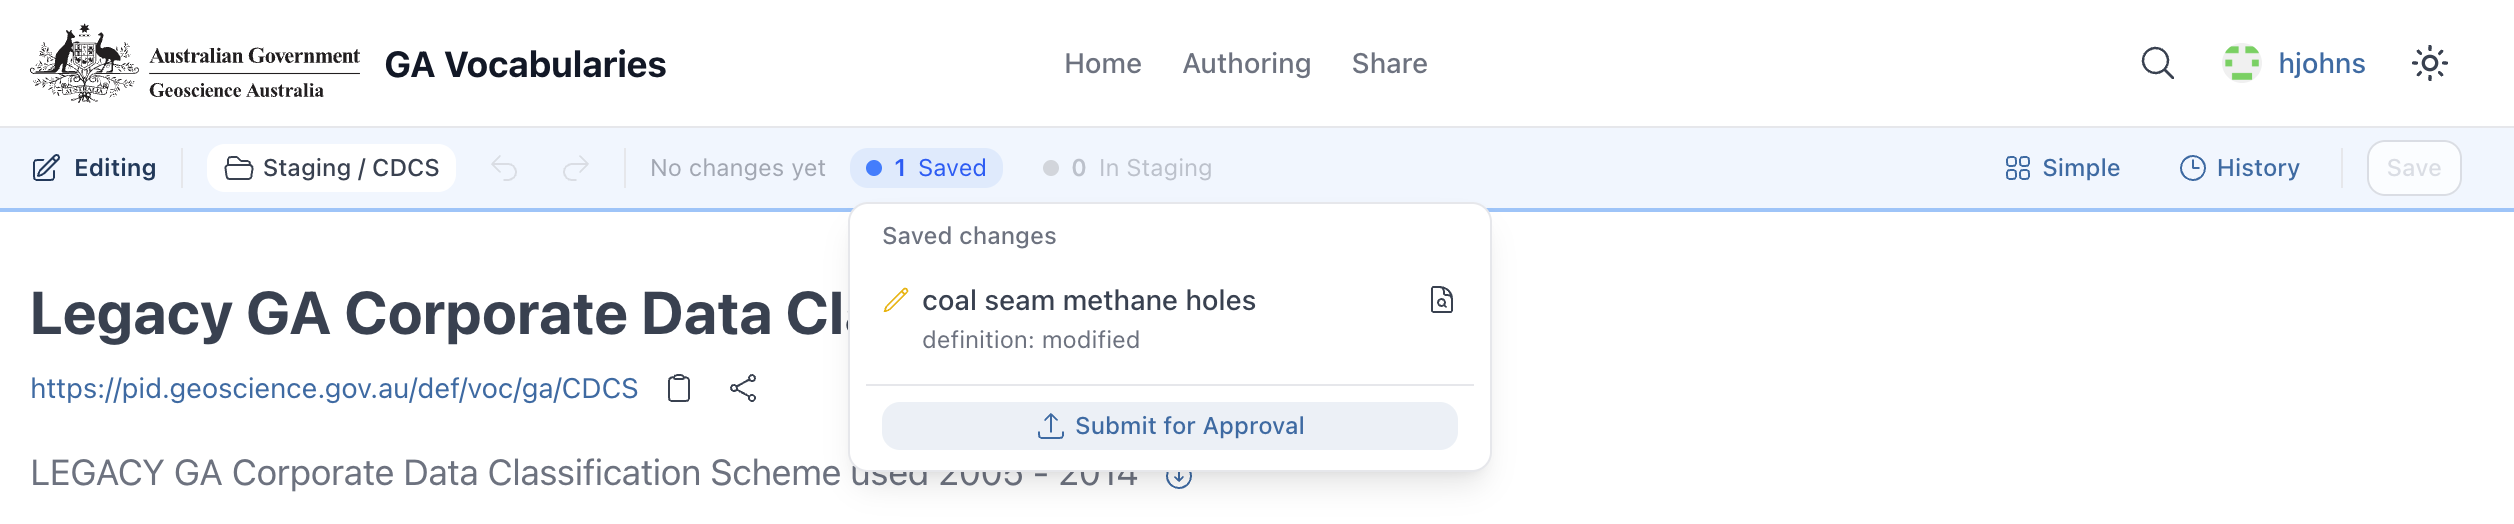
Saved changes ready for review
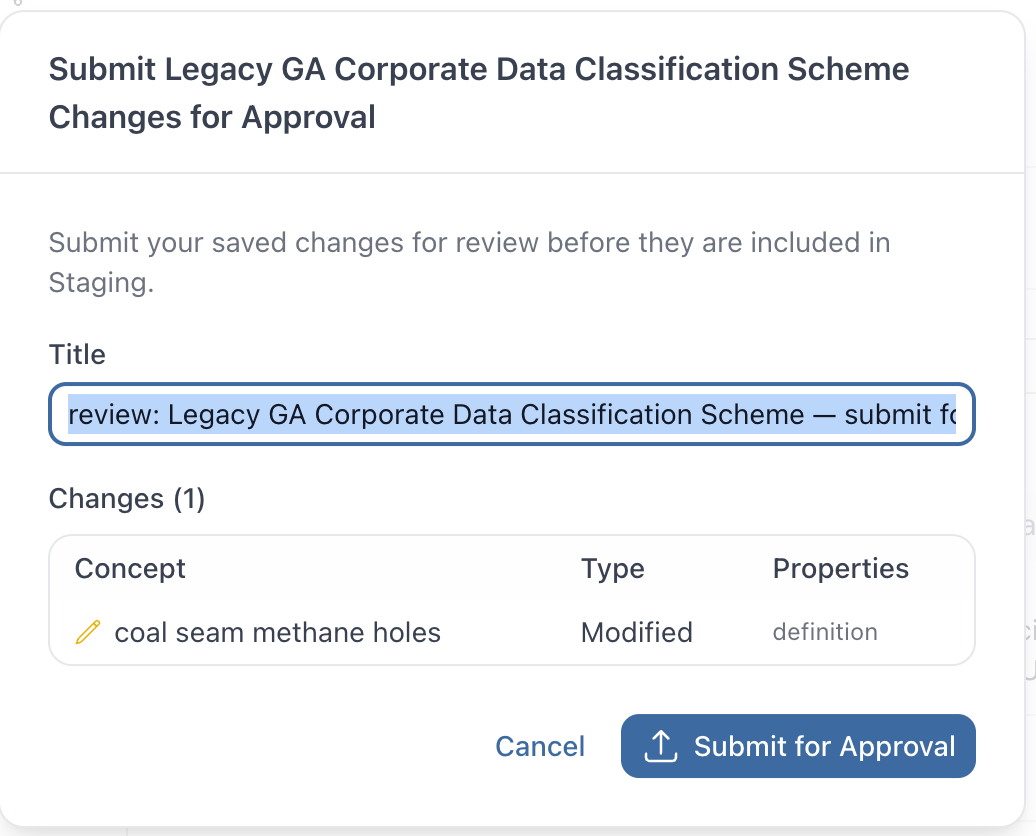
Submit with title and change summary
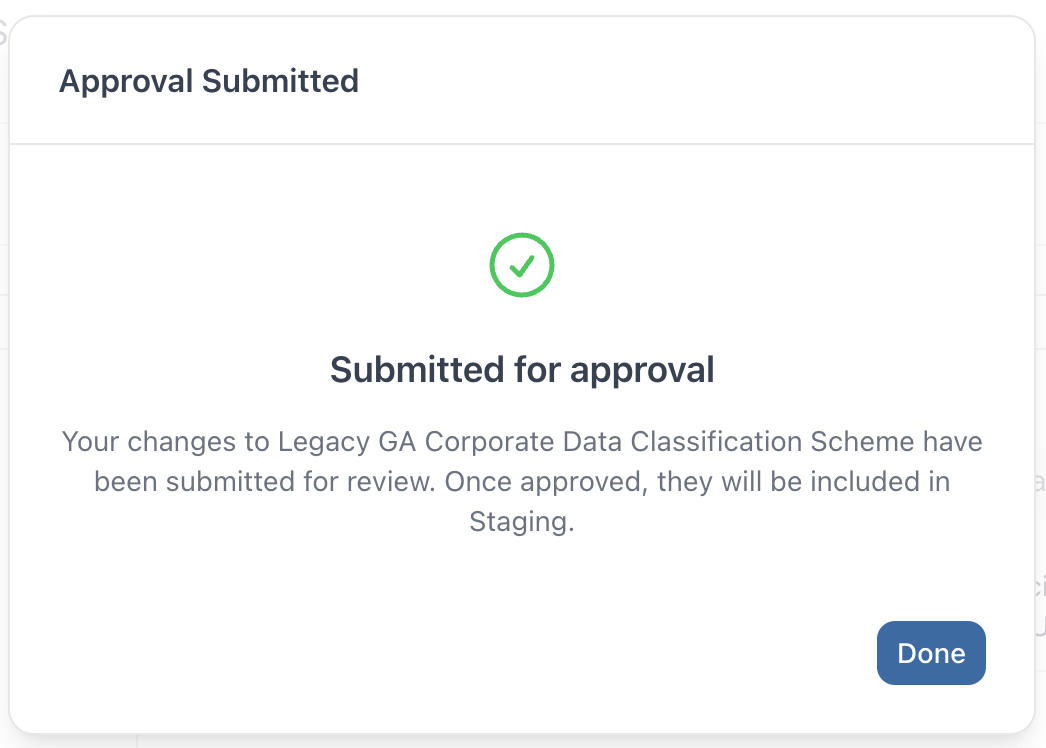
Confirmation
- Once saved, the editor can submit changes for approval
- A summary of all changes is shown — which concepts were modified and what properties changed
- Approvers are notified and can review before merging
Review & Approve Changes

Pending approval status
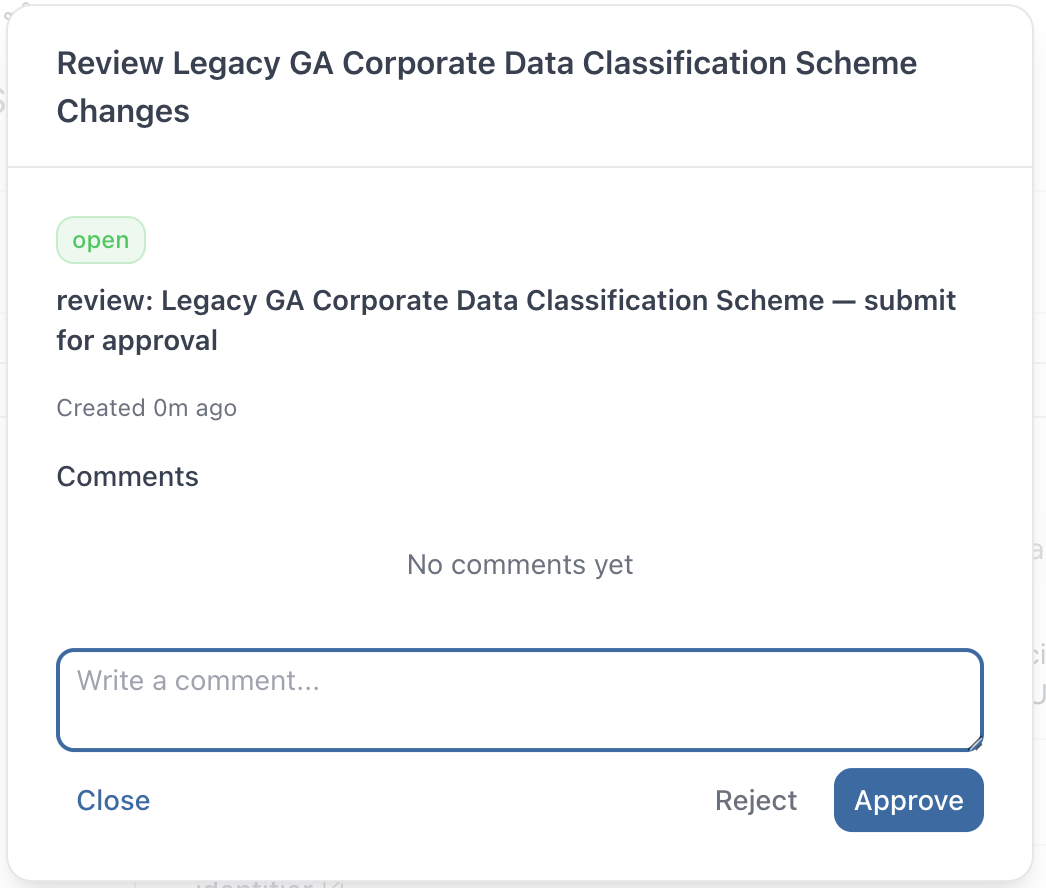
Review, comment, approve or reject
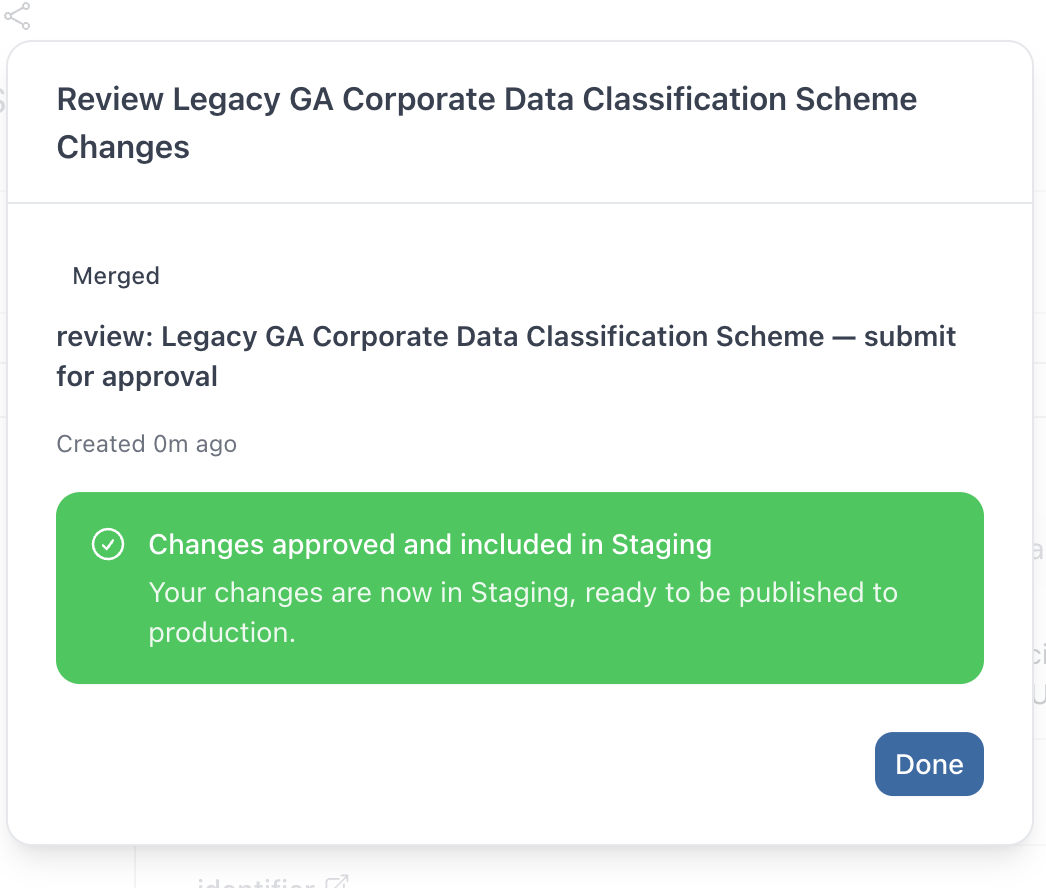
Approved — merged to staging
- Approvers see pending reviews in the editor toolbar
- Can add comments, approve, or reject changes
- Once approved, changes are merged into the workspace
Publish to Production
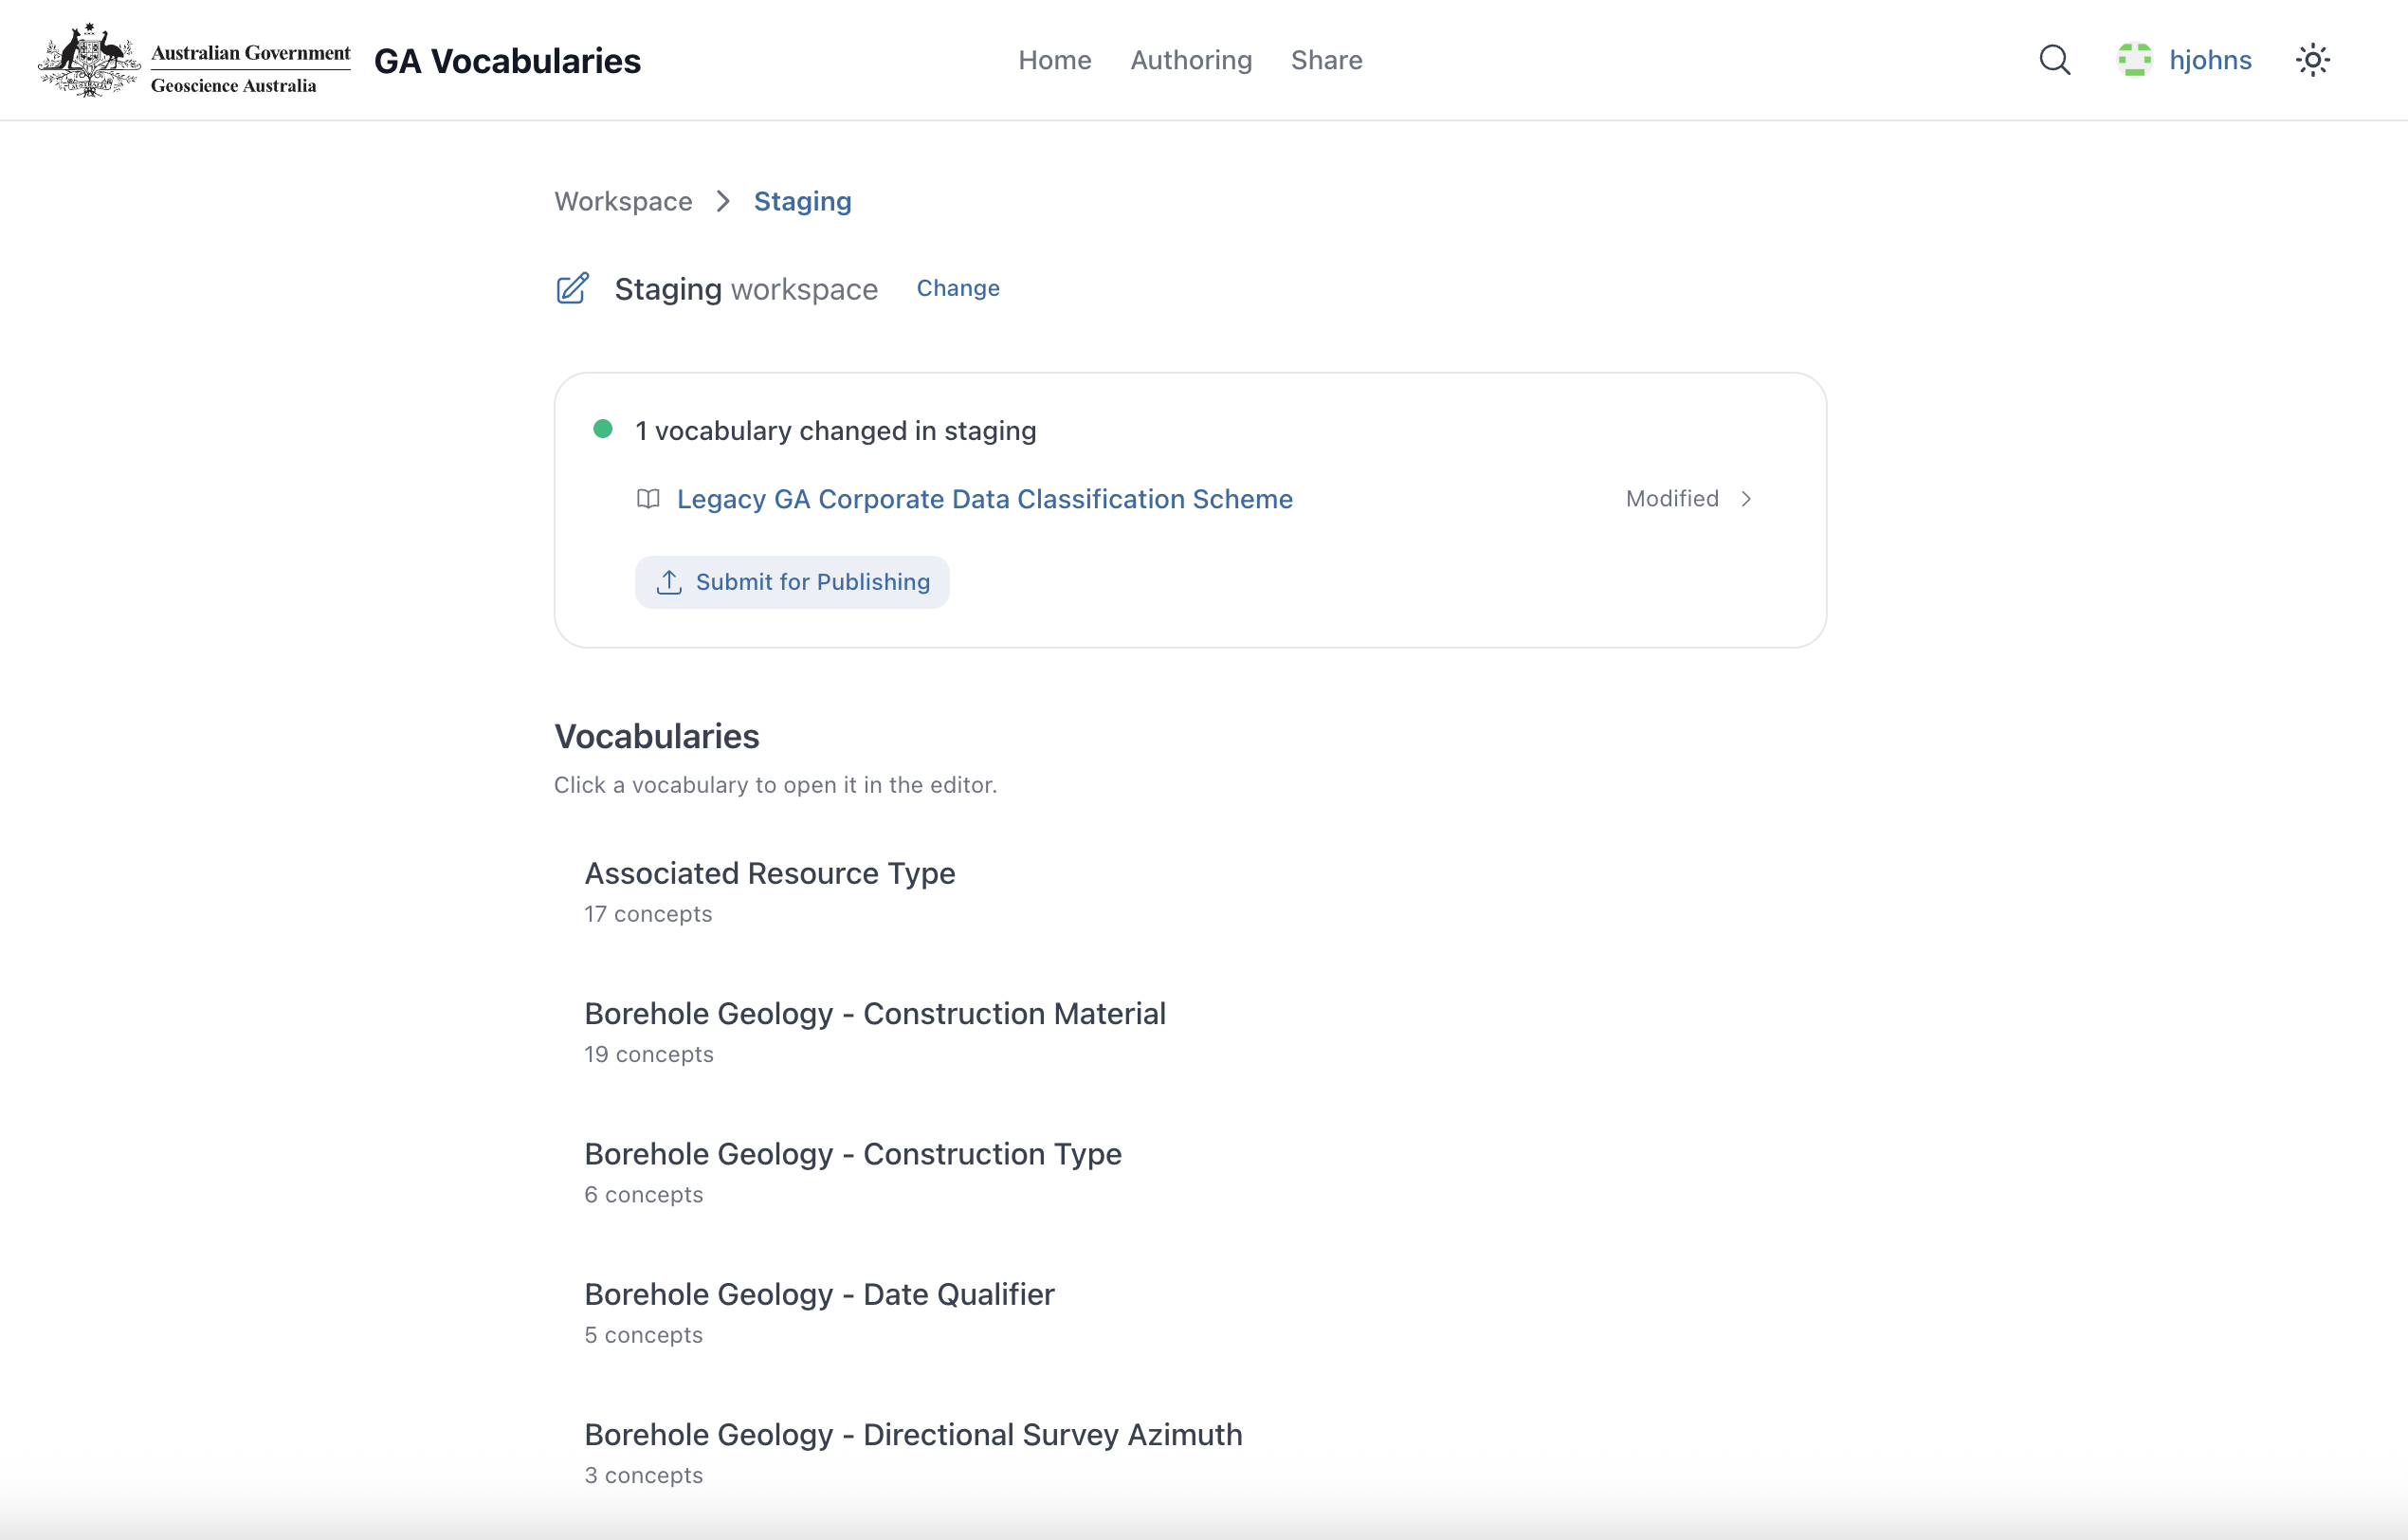
Staging workspace showing approved changes ready to publish

Publish staging to production
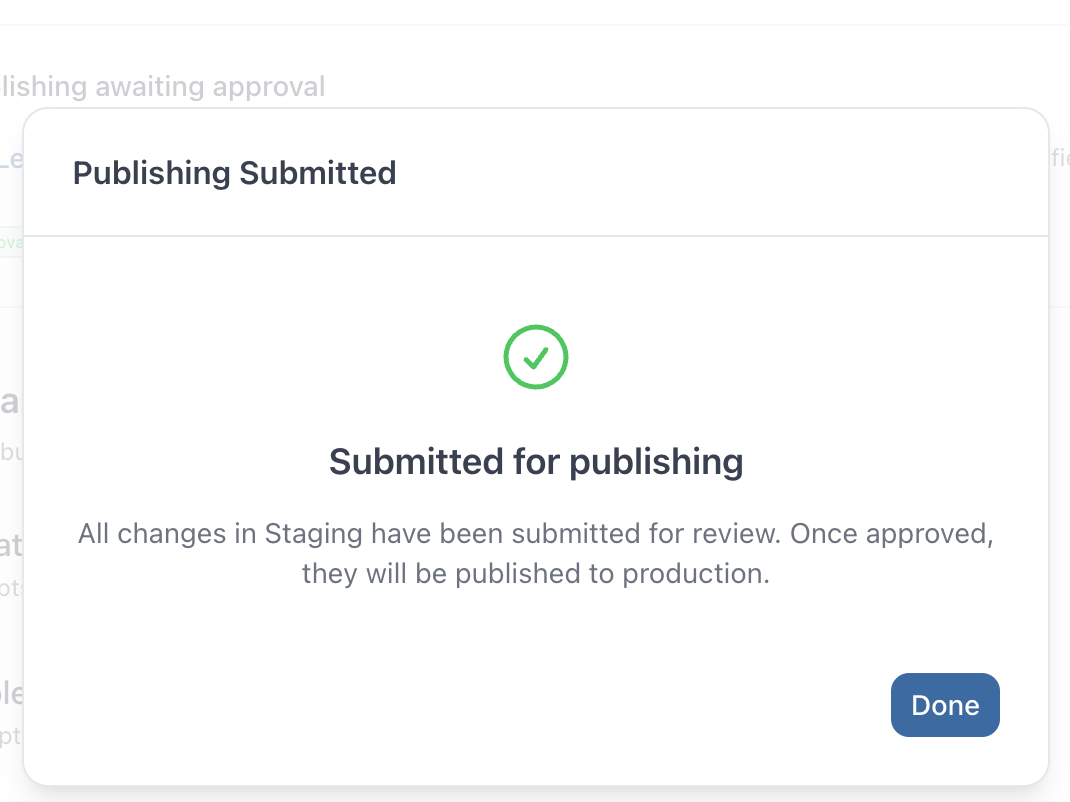
Publishing submitted for review
staging → main. This is the gateway to production.
Approve & Complete Publishing
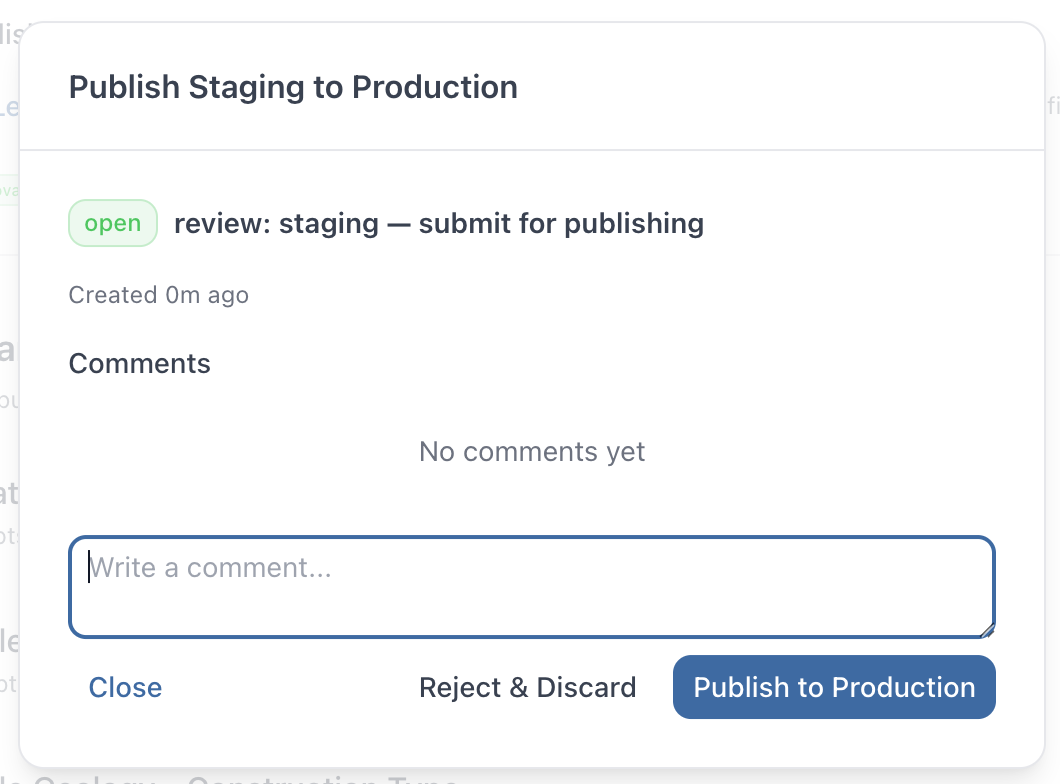
Review & approve for production
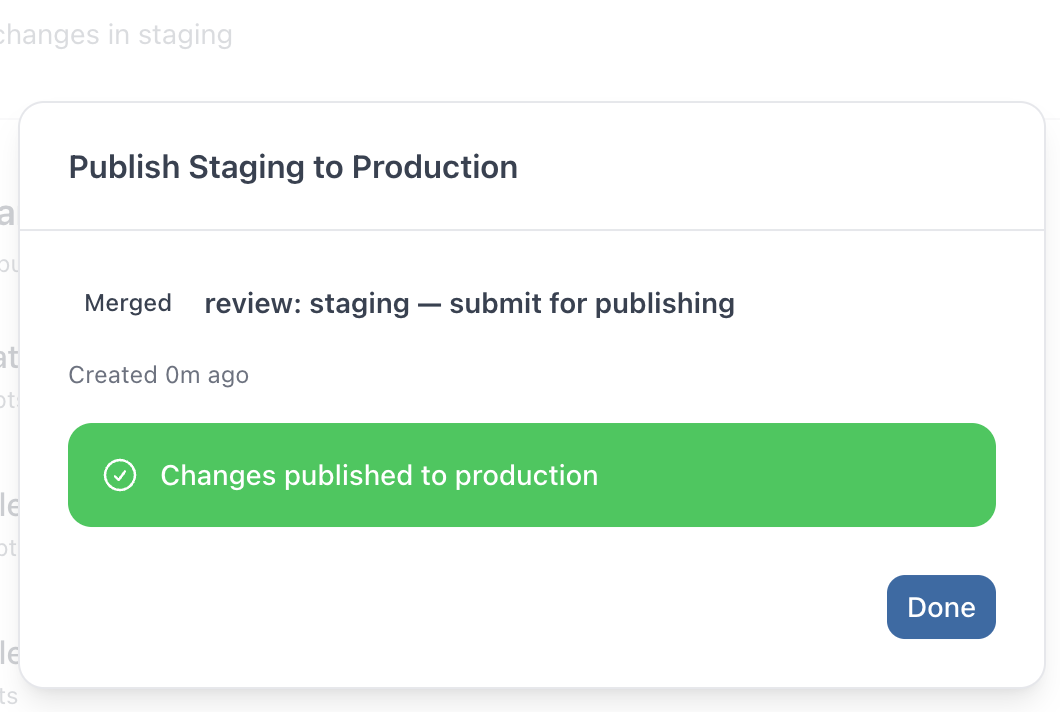
Changes published to production
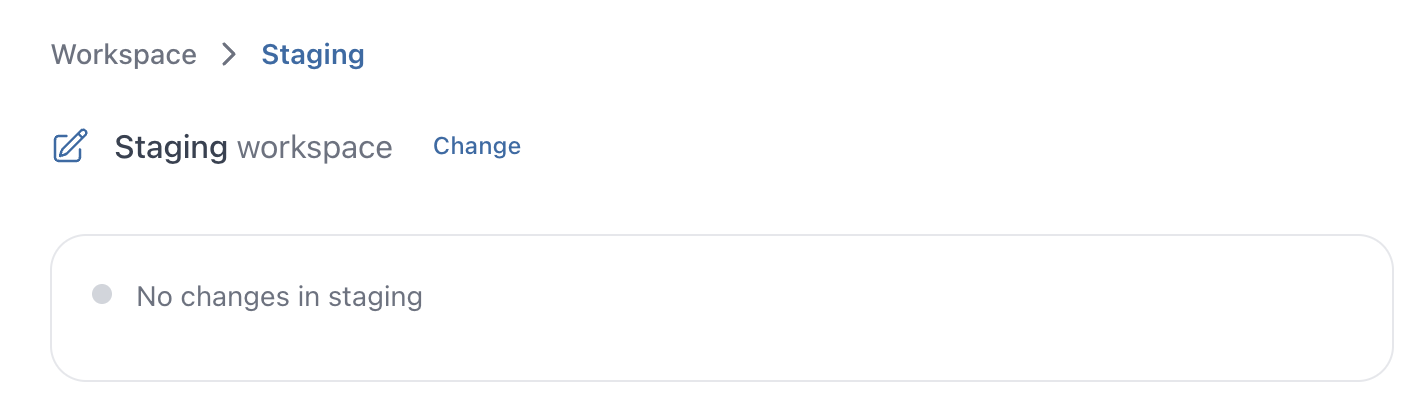
Staging is now clean
- A second reviewer approves the production publish
- Changes are merged to main and staging is clean again
- Your existing GitHub Actions pipeline publishes the updated TTL to Fuseki
What Happens in GitHub
Every action in the editor maps to a standard GitHub operation. Editors never need to use GitHub directly.
| Editor Action | GitHub Operation | Result |
|---|---|---|
| Sign in | GitHub OAuth | Authenticated with repo permissions |
| Choose workspace | Switch branch | Working on staging or develop |
| Edit & Save | Commit to feature branch | TTL file updated with change |
| Submit for approval | Create Pull Request | PR: feature branch → staging |
| Approve changes | Merge Pull Request | Changes merged to staging branch |
| Publish to production | Create PR: staging → main | Production publish request |
| Approve publish | Merge staging → main | Triggers existing CI/CD → Fuseki |
View Modes
The editor supports multiple view modes to suit different users and tasks.
 Simple View
Essential properties only — ideal for vocabulary editors
 Expert View

Full RDF properties including type, broader/narrower, scheme
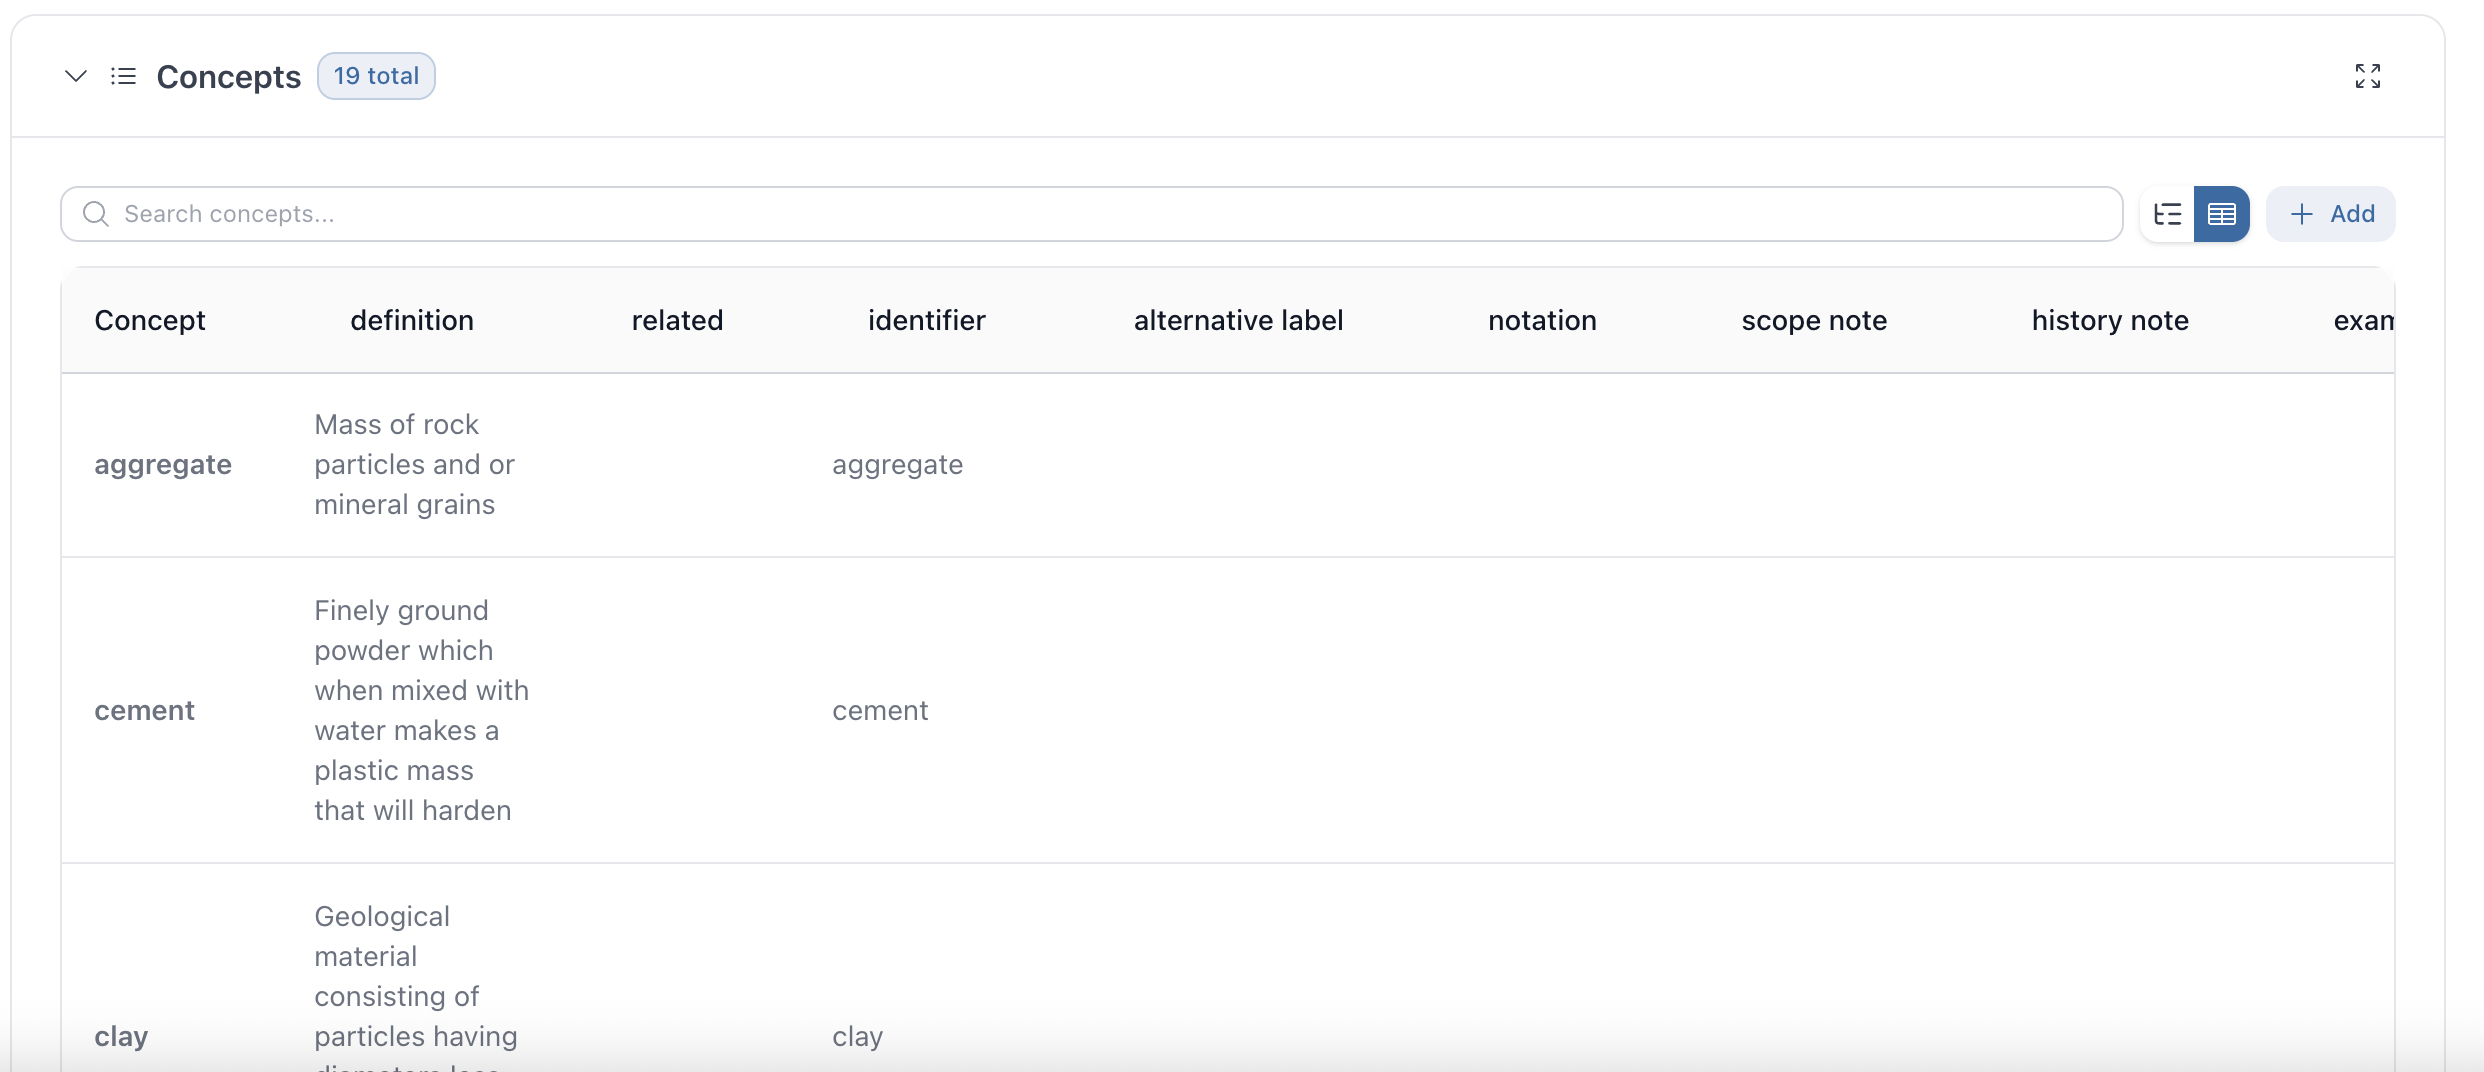
 Table View
— Spreadsheet-style view for bulk review across all concepts
Table View
— Spreadsheet-style view for bulk review across all concepts
Key Benefits
No Stack Changes Required
Works alongside your existing Prez UI, API, and Fuseki setup. Plugs into your existing vocab repo and CI/CD pipeline.
Accessible to Non-Technical Editors
Vocabulary editors work through a web interface. No TTL, SPARQL, or Git knowledge needed. Simple and Expert modes cater to different skill levels.
Built-in Governance
Structured edit → review → approve → publish workflow. Every change is traceable with full audit trail in GitHub.
Standards-Based
SKOS vocabularies, TTL as source of truth, GitHub as the version control layer. No proprietary lock-in. Works with any triplestore.
Workspace Isolation
Staging and Develop workspaces keep experimental changes separate from production. Changes only reach production through explicit approval.
Full GitHub Integration
Leverages GitHub branches, PRs, and reviews. Teams already using GitHub get familiar concepts with a vocab-specific interface on top.
Next Steps
To get started
- We have set up a fork of the GA vocab repository with the editor configured
- Ready for your team to trial the editing workflow
- No changes to your existing infrastructure needed
- Can be deployed to your own environment when ready
What we'd like to discuss
- Your current vocabulary editing process and pain points
- Workspace and branch strategy that suits your team
- Approval workflow and roles (who reviews, who publishes)
- Integration with your existing GitHub Actions pipeline
- Timeline and rollout approach